Showing posts with label minecraft. Show all posts

Monday, October 02, 2017

Pirate Cove Part 2: Digital Project-Based Learning in Minetest

This is post 2 of a two-part series on using Minetest to explore project-based learning with Grade 3 students. Click here to read Pirate Cove Part 1: Digital Project-Based Learning in Minetest.

Step 4: Check


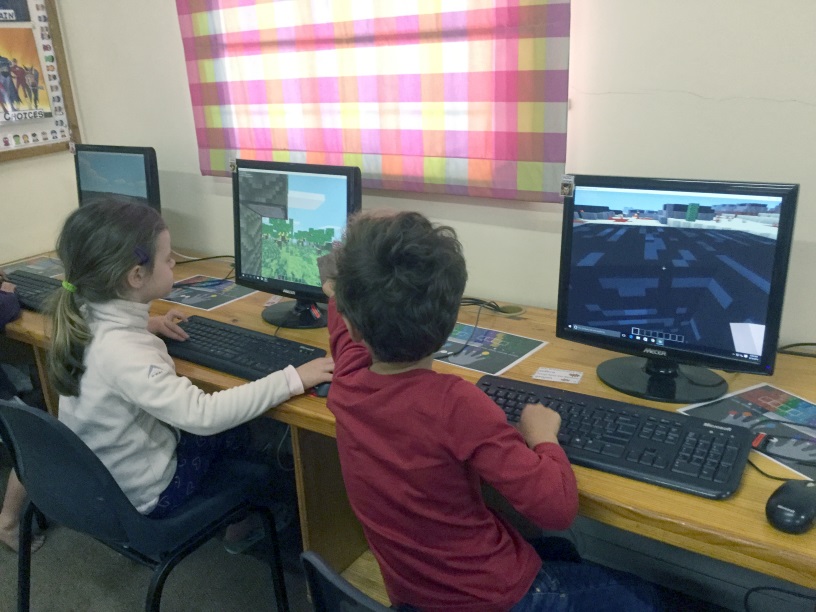
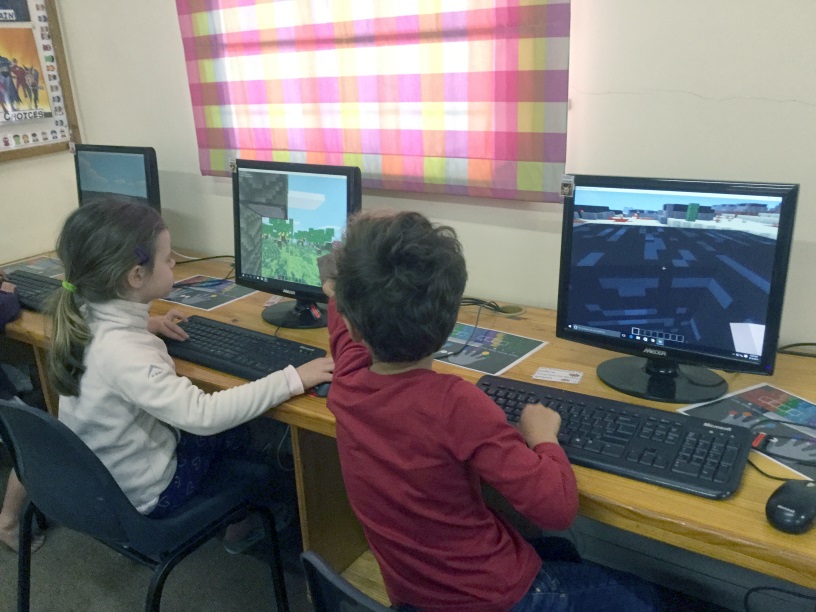
I included a checking step in the project: all of the 'paperwork' had to be done before the teams could earn building time in the game. This was an opportunity for all of the student teams to finish the research and design phases and help anybody in the class that needed extra help. I emphasised that our pirate town is a community and we all had to help each other. This mentality was later seen in the building phase as students asked to help other teams finish their buildings. Our lessons during this project were quite intense and busy for me and this built-in checking step helped me actually have a chance to look over their written work and ask students to adjust their work if needed.
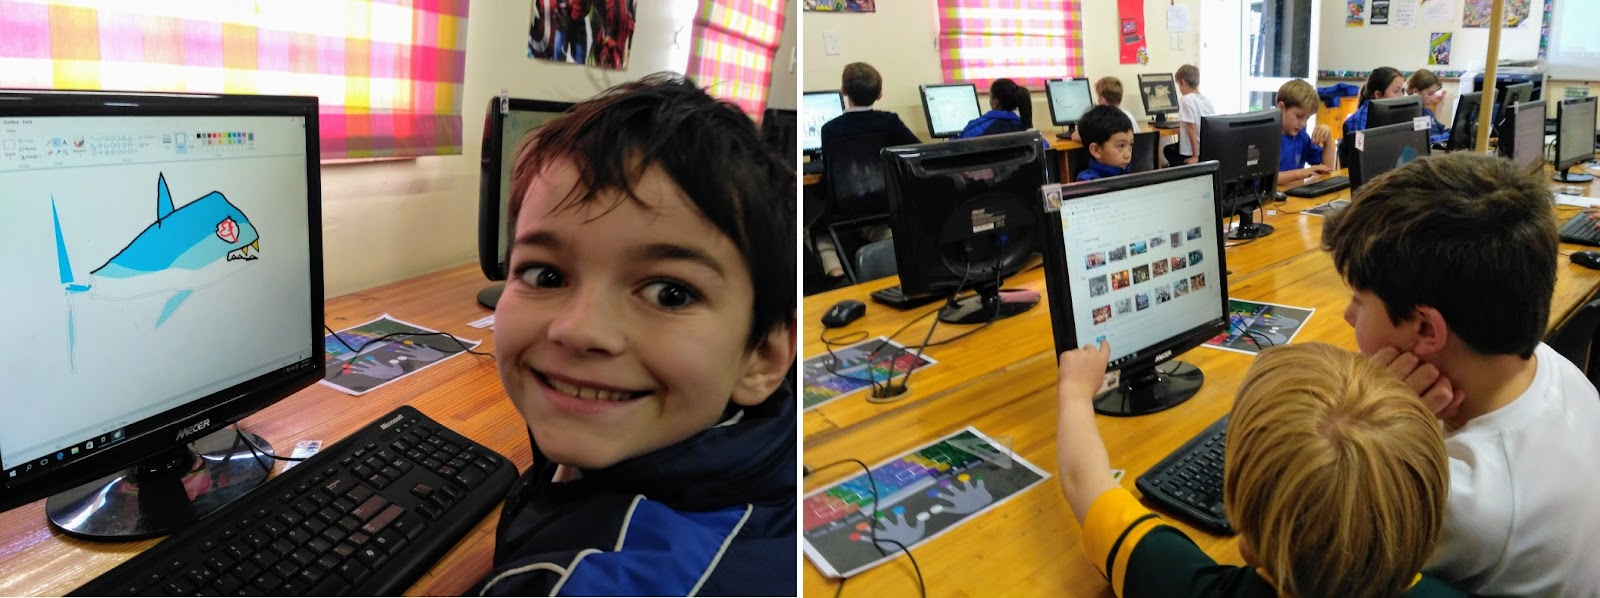

checking.jpg

Step 5: Build!

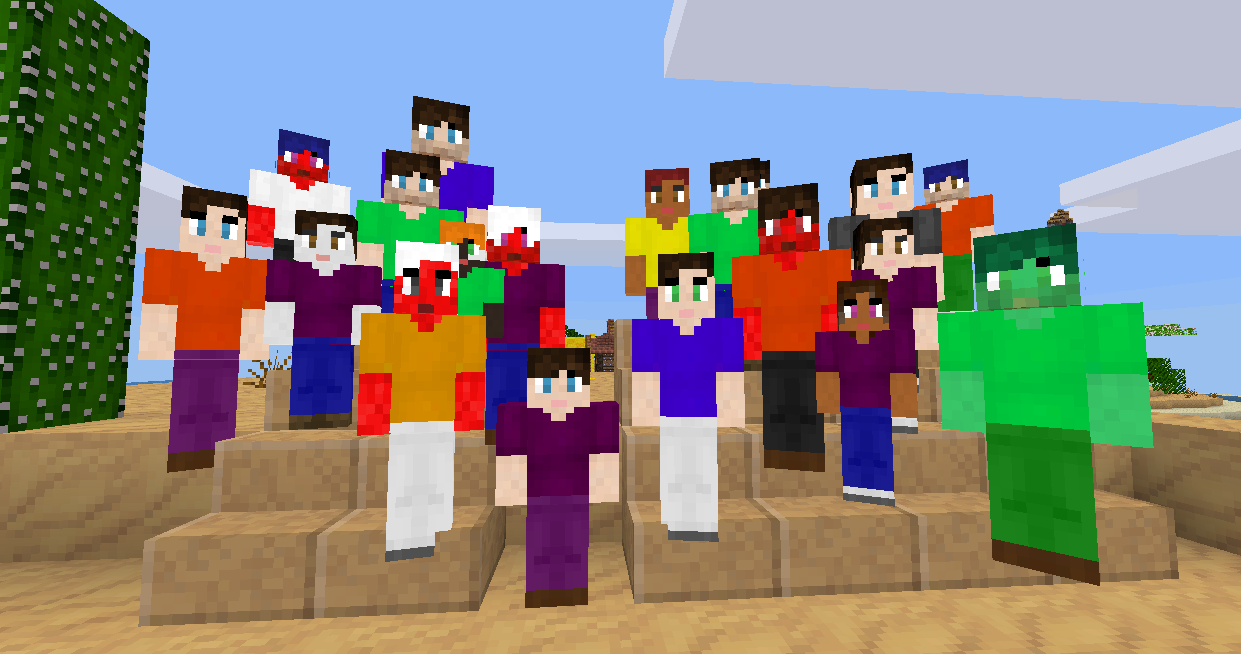
This was the highlight of the project for the students and the part that provided the motivation to complete all of the previous steps! The students logged in and we spent a chaotic first session getting used to the controls, the map we were building on and the plots that the teams were allocated. My students impressed me with their levels of cooperation, they really tried very hard to follow the rules of Parley and stay focused on their objectives. Despite a large range of skill levels, the students helped each other learn basic tips and tricks to make their building projects a success. I rewarded the most helpful pirate of the week with permission to wear a gold medallion which further helped to incentivise helpful behaviour.

The Minetest version we used allowed for the students to customise the appearance of their character, which was massively popular. This feature had the side effect of teaching the students about using Function keys on the keyboard (F7 changed camera perspective) and the importance of a correct username (if they logged in with a differently spelt username they lost their customisation).
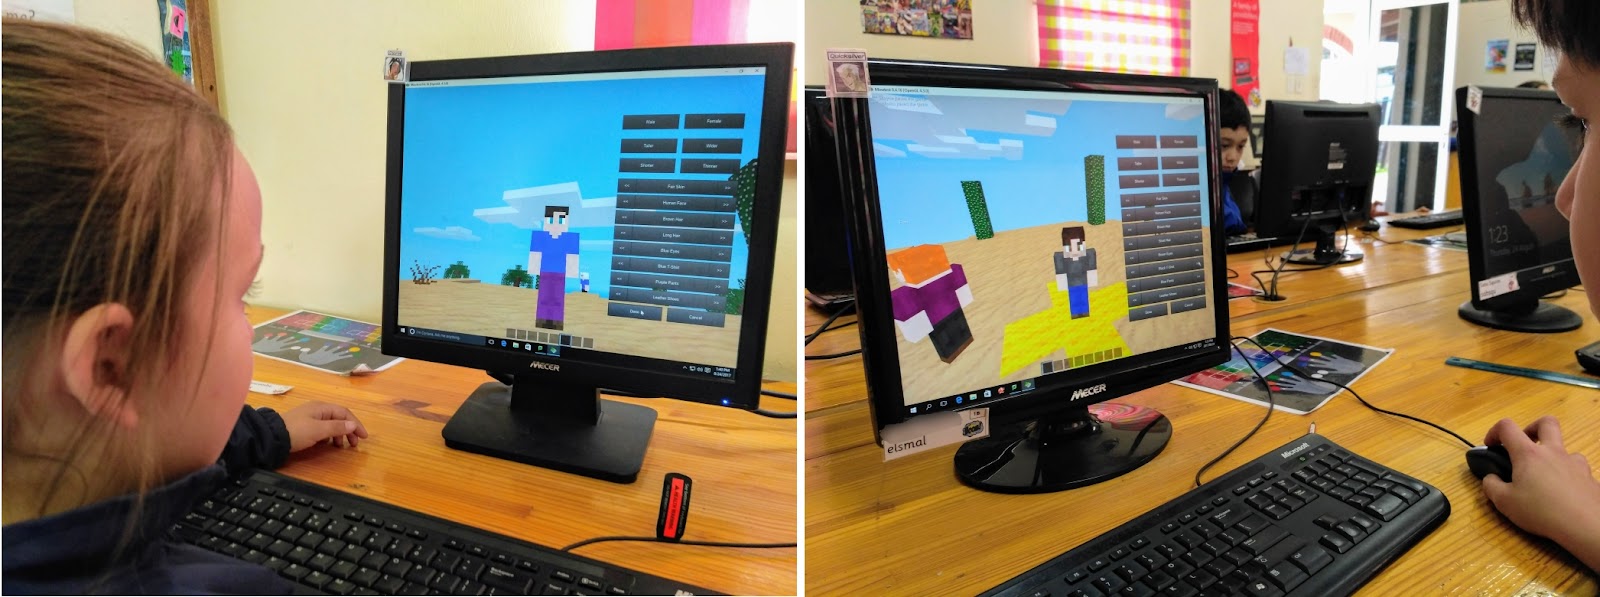

chars.jpg

We constructed our pirate coves for a total of 4 hours = 1 hour per lesson. In that limited time both classes finished their assigned buildings and worked together to improve their towns. Students came up with original ideas to customise their town: one class worked on a large statue with a pirate hat and another class came up with the idea of creating a path to join up their buildings. Here a sample of one pirate cove being built up over the four lessons.
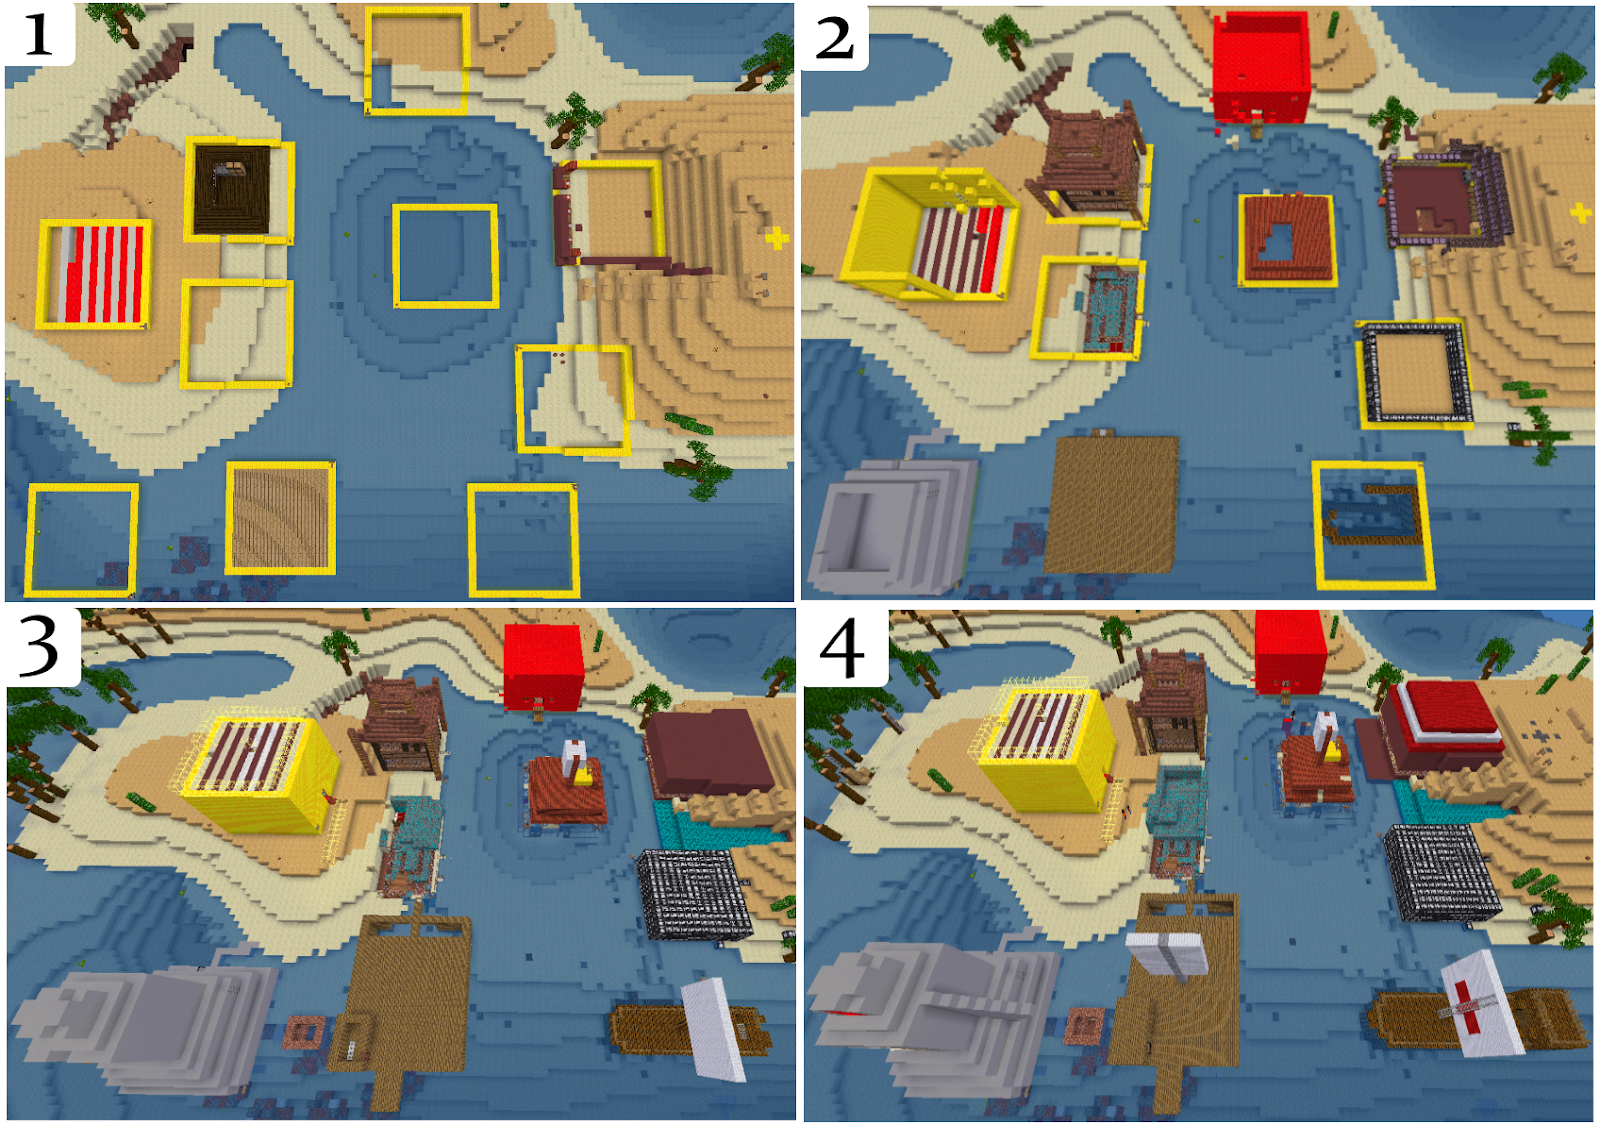

3H Timelapse.png


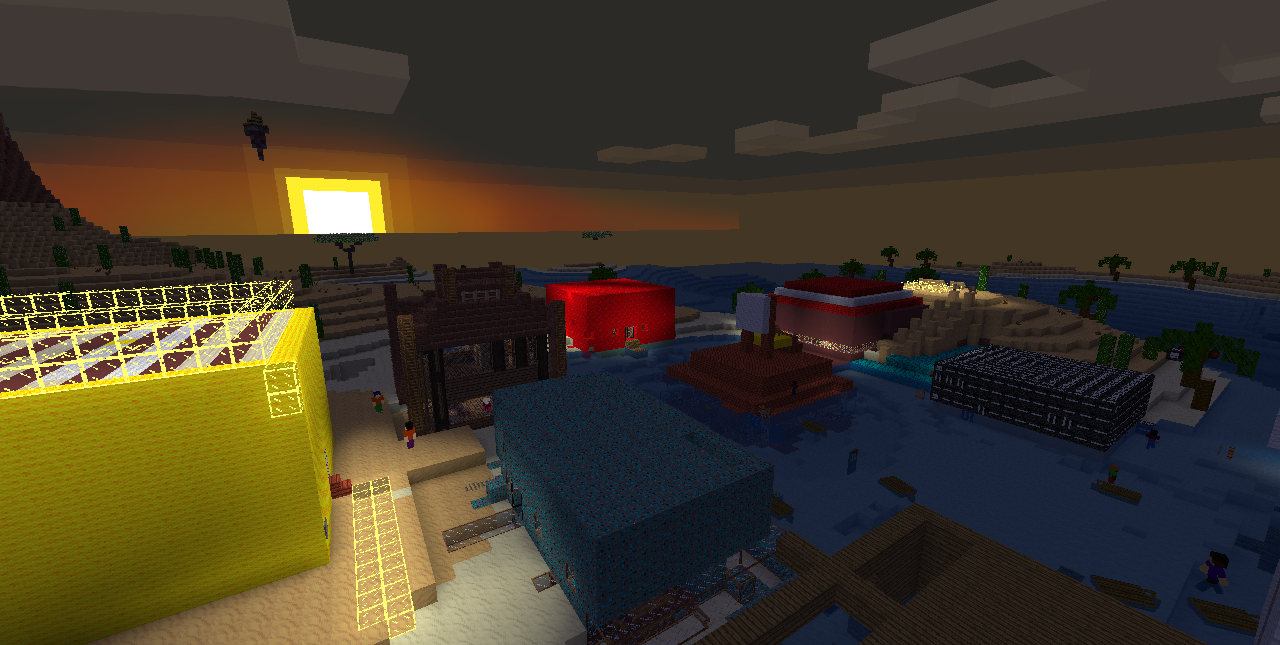
The final lesson was set aside for students to leave their plots and walk around the town, exploring what they had built together. At their request, I set the game time to night in order for us to see pirate cove lit up from the light of the lighthouses and other buildings. At the end of the lesson, I asked the students to park their character in a spot of their choosing as we turned the server off for the last time. Most of them chose either a beautiful viewpoint or inside the building they had made. One student gave this advice:


When the time comes to turn the server off forever, make sure you go somewhere with a good view.


Poignant!


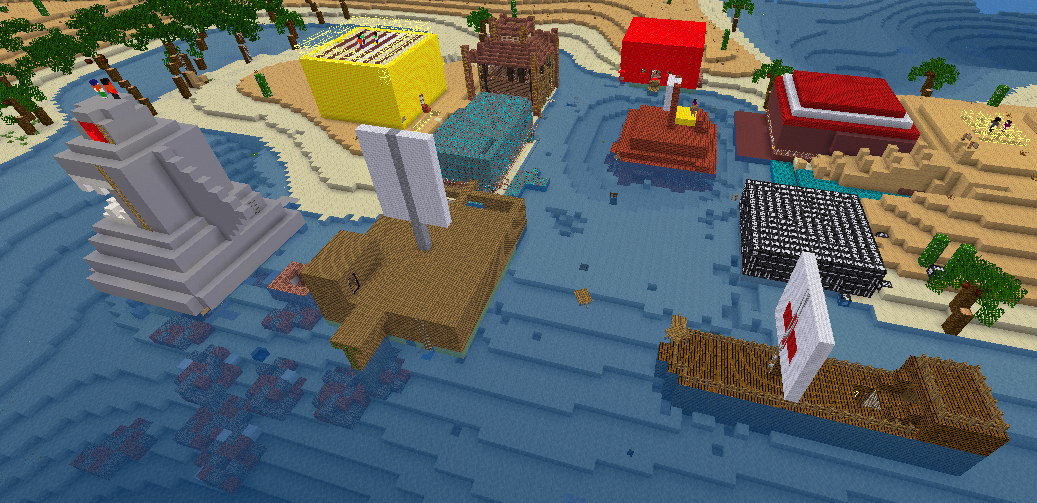
Click here to view a slideshow of screenshots from our finished pirate cove project.


Step 6: Reflection


The students learned how to take a screenshot on a computer (print-screen key) and paste it into Microsoft Paint. After saving it, they imported the screenshot into their Building Quest document and completed a reflection page about the project. We then discussed advice we would give next year's students:


  • Don't jump into deep holes looking for shiny rocks, you will get stuck.
  • Work as a team and listen to your partner's ideas.
  • Keep your idea simple, don't let it get too complicated.
  • When you dig don't dig straight down, it's dark.
  • Ask people for help if you need it.
  • Don't sit in chairs, you will get stuck. (we had a few glitchy chairs)


I feel this is a refreshing mix of advice relevant to the game and also to wider contexts!

Step 7: Learning

Learning areas for this project included:


Digital literacy:
  • Online interactions and appropriate behaviour
  • Design process
  • Online research
  • Integrated studies: Pirates


ICT skills:
  • Software: Minetest
  • Software: Google Slides
  • Software: Microsoft Paint


Computational thinking approaches:
  • Collaboration
  • Persevering
  • Creating
  • Tinkering


The students and myself thoroughly enjoyed the experience of project-based learning in ICT this term. The maps for each pirate cove have been saved for posterity and future showcases.

Completed Building Quest Projects:


Pirate Cove Part 1: Digital Project-Based Learning in Minetest

Ahoy! Welcome to Pirate Cove!

Digital Project-Based Learning in Grade 3

Background: Objective


Pirate Cove was a 9 week project that I ran with two classes of Grade 3 students. Each week we had one hour of lesson time to work on our project. The Grade 3s had a term-long Pirates theme that stretched across all learning areas and I wanted our ICT lessons to integrate with that theme. I dedicated the entire term to the project as I wanted students to become invested in our final, collaborative product - a pirate town built in the computer game Minetest. Aside from learning how to play the game together and various ICT skills (screenshots, image manipulation and importing), I wanted my students to research, plan and design their building project and reflect on the process.

Background: Technical

Minetest was my chosen Minecraft clone because it was free and runs well on the computer lab Windows machines. It also runs locally which means that it didn't require any bandwidth or internet to run. Each student used a Windows desktop to access their project document (Building Quest) as well as build on Minetest. The students had briefly experimented with Minetest last year and some remembered it fondly, but this project was the first time any of them had spent longer than an hour with the game. I've written more about Minetest on my blog here.

crew.png

Step 1: The Building Crew

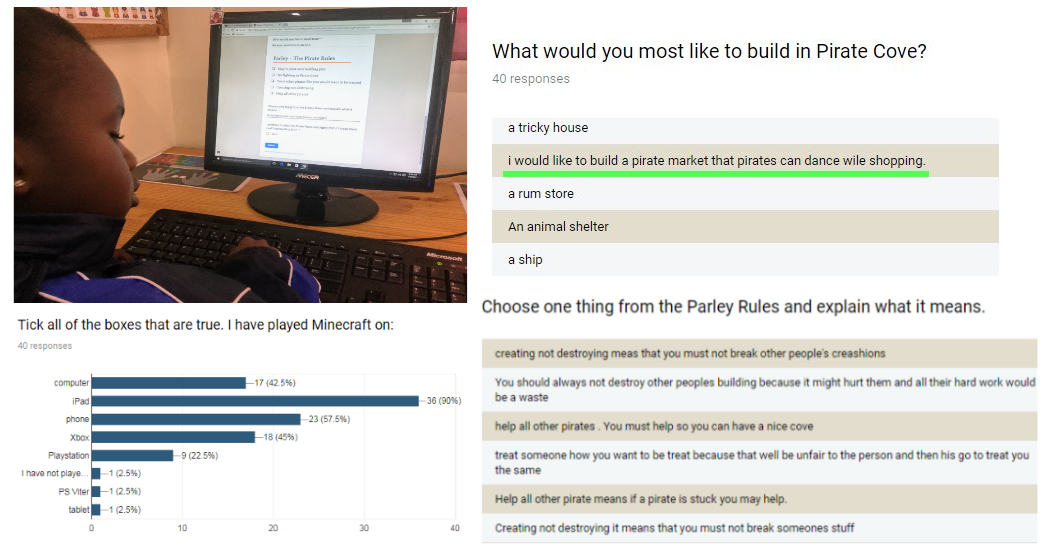
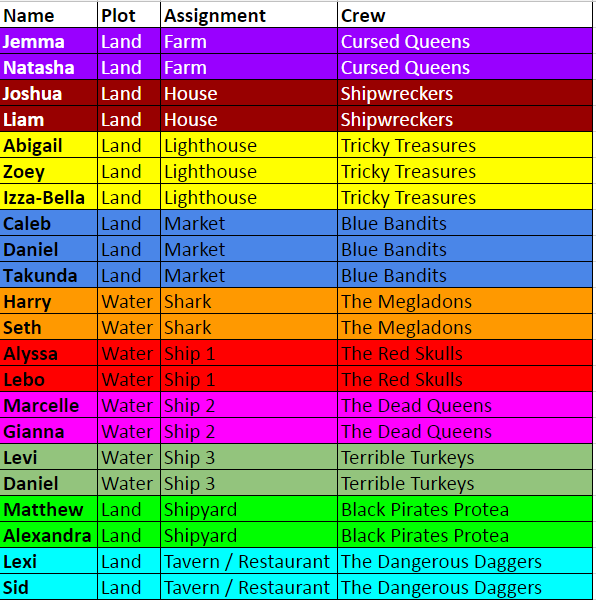
The first step for us was to determine what we were building. The first lesson was taken up with explaining the parameters of the project, our goals, and giving the students time to come up with ideas. They filled in this Google Form so I could gather data about how much experience they had in Minecraft/Minetest and what they wanted to build. I used their responses to build up a number of teams (building crews) in each class, roughly based around what the students requested. I also used this step to introduce our rules of Parley, which covered expected behaviour to work together and not cause any trouble.

The survey allowed me to gather data from the students and sort them into compatible teams. The students were sorted to balance out experience at this kind of game and type of building they wanted to work on. They chose the crew names themselves and became quite attached to their colours!

survey.png


Step 2: Research

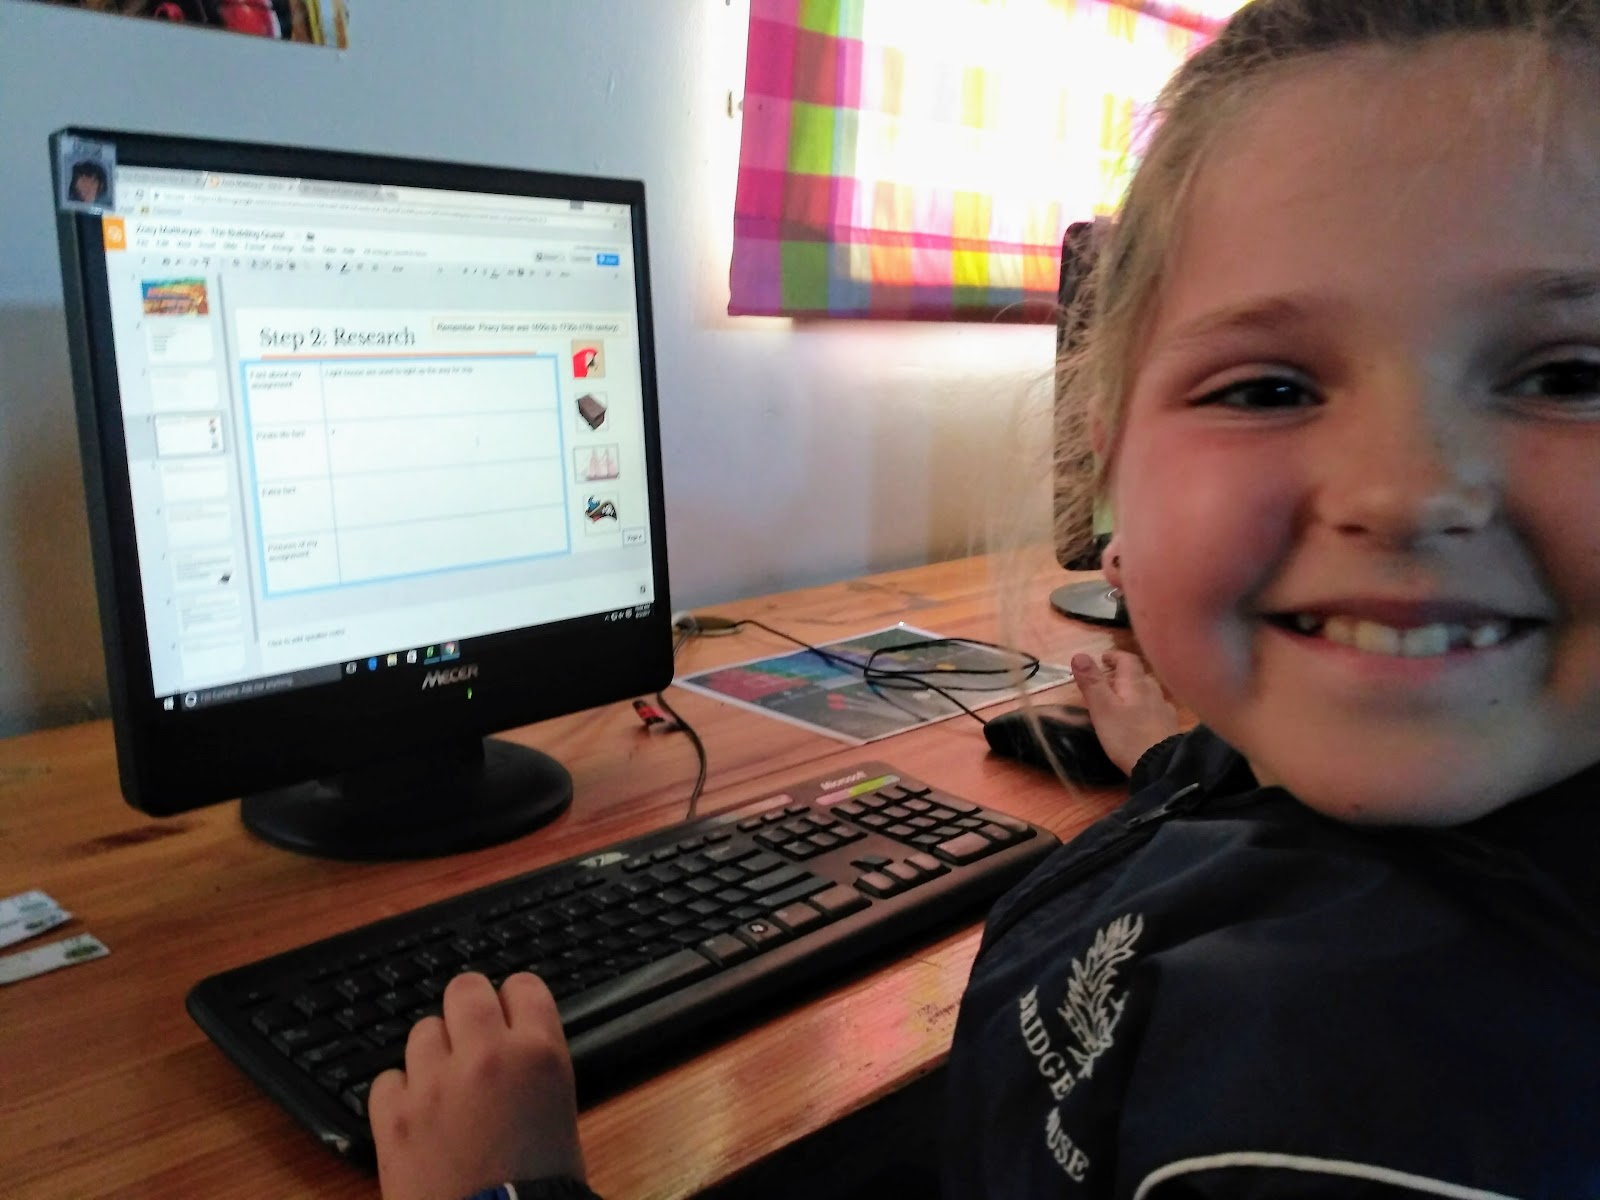
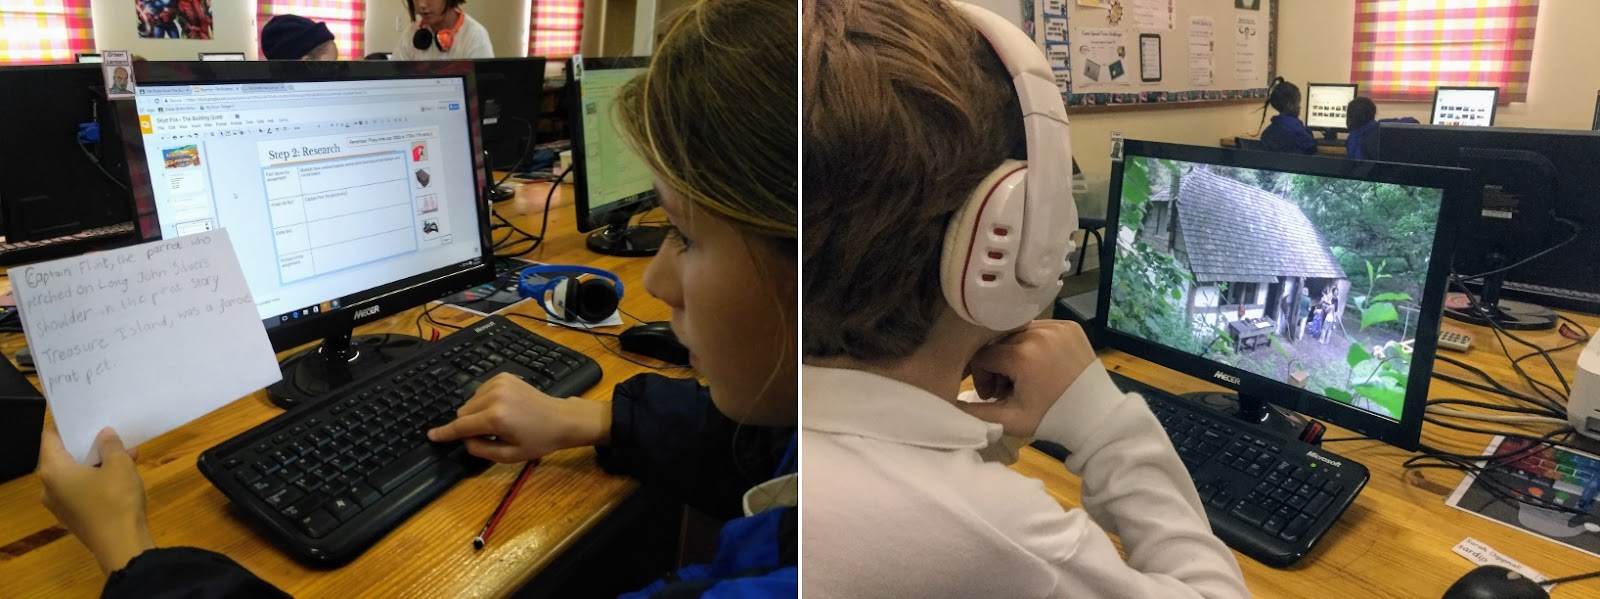
The students were sorted into their teams and we rearranged the seating plan so that teams could sit next to each other. While this created a delay in the beginning with logging into new machines and profiles, in hindsight this was an excellent choice as it helped students work together with their partners. They started work on a structured research task to find out more about their building assignment. The students each worked in a Google Slides workbook (Building Quest) where they completed all of their 'paperwork' for the task. There are links to samples of completed workbooks at the end of this write-up.


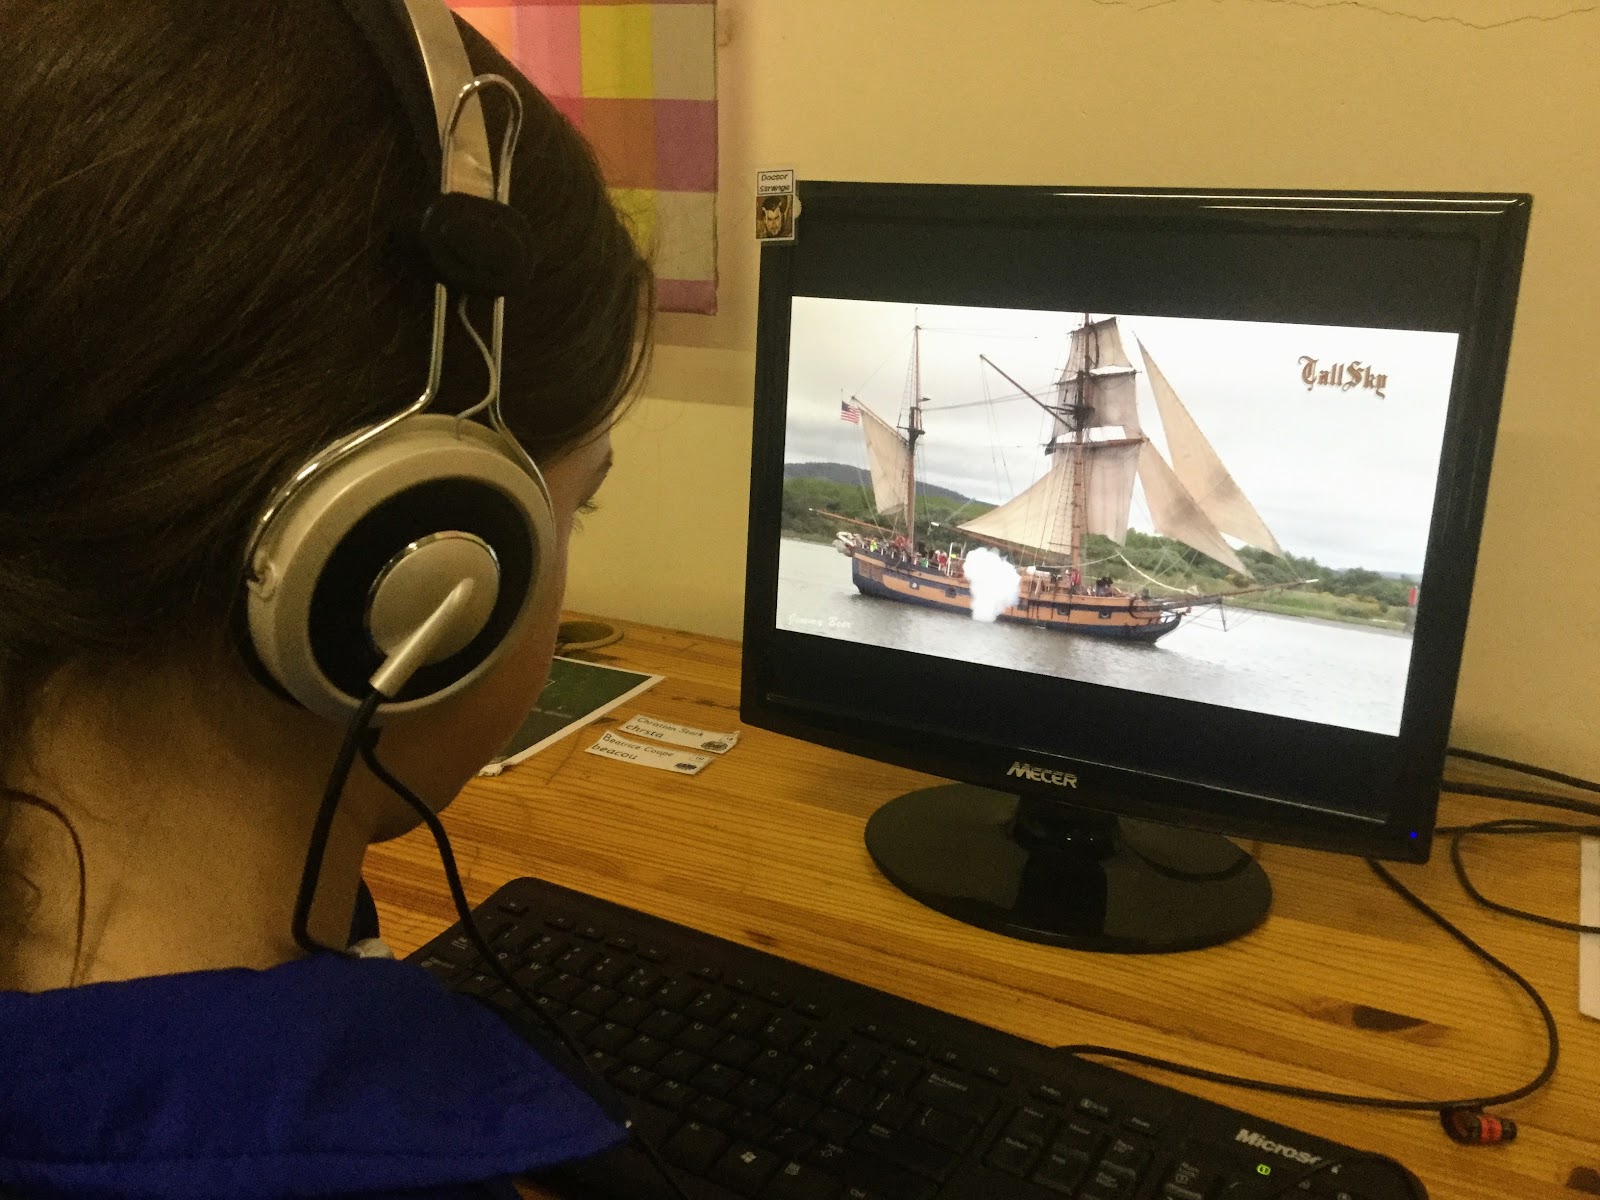
Students used a bank of suggested websites as well as saved videos to learn more about their building assignment. They had to try and find out information about the types of materials that would have been used to build their assignment in real life during the 16-17th century. Each step of the project was clearly laid out and teams were able to move ahead with the next step as soon as they felt ready to. I was able to take certain teams aside to give them individual support to complete a task they needed more help with. This differentiated approach was a new experience in the ICT lab and the students appreciated being able to work at their own pace.

research.jpg

Step 3: Design

Once the research task was complete, students moved onto the design phase. They used Microsoft Paint, a new program for us, to sketch out a proposed design for their building. The students largely learned how to use Paint from each other. For the group of students that needed it, I ran a brief tutorial on the basics of the program. Afterwards, the students saved their design (giving the image file a good name!) and imported it into their Building Quest document. The next phase was to label their design to give it more detail, then complete a 5 sentence write-up of what their design would be made of.

I believe that including this design step helped the students become much more invested in the later process of building. I was blown away by the quality of their work!


This is post 1 of a two-part series on using Minetest to explore project-based learning with Grade 3 students. Click here to read Pirate Cove Part 2: Digital Project-Based Learning in Minetest.

Friday, September 09, 2016

Learning with Minetest Part 3: Impact on the Students


This blog post is part of a series of posts exploring the concept of using the Minetest game as a learning platform in a primary school. Click below to access the other posts:

Learning with Minetest Part 1: Rolling out Minetest in Pre-Primary
Learning with Minetest Part 2: Activities and Aims
Learning with Minetest Part 3: Impact on the Students

Our Minetest experiment has ended for the moment. During the last month my Pre-Primary and Junior Primary students have been exploring the game Minetest in their IT time. This post will discuss the impact that Minetest had on the students.

Spatial awareness:
Students have had to learn how to use both the keyboard and mouse independently. Minetest has been an enormous motivator for children to become comfortable with manipulating the controls with both hands working independently of each other. I have been surprised by how quickly the reluctant children became able to move around the game world. Every child that played was able to complete the basic movement training within half an hour, even those who had never played Minecraft.

Social and emotional development:

Many discussions were had about in-game appropriate and inappropriate behaviour. Children asked permission when working in another person’s building space, collaborated together on activities and also dealt with situations that were not positive. Every class used a ruleset which emphasised appropriate behaviour and we used that as a framework to structure how we played the game. Multiplayer games are extremely common in this age range and much as we model correct choices and behaviour in the classroom, Minetest was a great space to model appropriate choices and behaviour in an online space.

Opportunities for social modelling and development.
Problem solving and logical thinking:

Students navigated a 3D world space and created structures in it. They had to design what they wanted to build, gather resources for it, work out the different properties and mechanics of the game world and adjust their plans based on other builders. Some children began to investigate deeper mechanics such as creating tools to increase complexity of what could be built.

Digital skills (online safety):

All students discussed the difference between playing on the internet at home and playing Minetest in a school environment. We talked about safety when playing on the internet and the differences in the rules due to Minetest being played with a teacher. Much of the online safety discussion intersected with the social and emotional development aspects, as we talked about our behaviour in a game-space and how we could work together in a positive way. The Grade 3 classes talked about ‘trolling’ and ‘griefing’ (destructive/abusive behaviour) in online games and what we could do about it.

Summary:

Even though we have only ran Minetest as a pilot for 1 or 2 sessions per class, I the students developed a lot of key skills. Some of these were deliberate aims, such as digital skills and online safety, but many developed that I hadn’t considered before running the game:

Areas of the JP Technology Skills Checklist 2016 (Grade 3) that were developed using Minetest:
  • Interface
    • Mouse - 
      • Left, right and double click
      • Scrolling
      • Using hand/wrist to move mouse instead of entire arm
    • Keyboard - 
      • Functions of enter key and spacebar
      • Improving typing and keyboard fluency
  • Internet and research
    • Collaboration using technology
  • Digital skills (online safety)
    • Safe browsing: inappropriate websites, advert and pop-up navigation
    • Personal information safety, nicknames and login names - who needs to know?
    • Collaborating productively in an online space, how to handle conflict in a shared space
    • Cyber-bullying, appropriate behaviour online
Minetest is a highly engaging platform for student learning.
Minetest is a learning tool that is highly motivating for children because it mimics many gameplay elements of the popular Minecraft game. Minetest is appealing as a teacher because much of the uncertainty of online play has been removed, we only run our game within the computer lab. Because of this, it allows Minetest to be available to use to pursue learning goals. A 3D world space where the students can create their own structures makes it an ideal place to explore perimeter and area. The cube-shaped blocks allow for construction challenges or counting games. Schools around the world have used Minecraft in all areas of their curriculum and Minetest can work in a similar role.

If Minetest was used again in the computer labs I think that I would see it’s value as a learning tool increase now that most children that I teach are comfortable with the basics of playing the game.

I hope that you enjoyed this series on using Minetest. Please feel free to contact me on Twitter (@moniquefranzsen) to chat about using games for learning.

Previous - Learning with Minetest Part 2: Activities and Aims

Sunday, September 04, 2016

Learning with Minetest Part 2: Activities and Aims


This blog post is part of a series of posts exploring the concept of using the Minetest game as a learning platform in a primary school. Click below to access the other posts:

Learning with Minetest Part 1: Rolling out Minetest in Pre-Primary
Learning with Minetest Part 2: Activities and Aims
Learning with Minetest Part 3: Impact on the Students

It's been 3 weeks since I set up Minetest in the computer lab at school. I wrote more about the installation in my previous blog post here. In this post I want to discuss the various activities that I organised, the worlds that I hosted and what aims I gave my students.

Rules

Before we started, each class and I formulated rules about our Minetest experience. It was important to spend the time having conversations about appropriate and inappropriate behaviour, and for the guidelines to come from the players themselves. This all helped to facilitate student buy-in to the rules agreement. All of my classes settled on something similar to the following:

Genuine IT Teacher handwriting, folks.
Use your real name was a rule that I added, we had a great discussion was had about nicknames and personal information but since I do already know their names as their teacher this was for practicality more than anything else. If someone broke the rules, they were not allowed to play any more of Minetest that session. Most classes brought up the idea of accidents. We discussed about how something was accidental or on purpose, and what to do if you accidentally broke a rule.

The Training Centre

All of my students aged 5 - 9 started off Minetest life in a custom-built obstacle course which I called the Training Centre. Taking ideas from what I've seen of the MinecraftEdu tutorial online, the students had to follow the blue line through tutorials on movement and interacting with the world. Signs were littered everywhere so that students who wanted more information could read them as they went along. About a third of my students were able to race through the training in record speeds, as they were avid Minecraft players. For the rest, the Training Centre was a valuable slow transition that gave them time to get used to moving with the mouse and keyboard at the same time.  Out of all my +/- 190 students, only 2 or 3 struggled with the controls by the end of the first session. All students were able to complete the training course within half an hour, with most kids finishing well before that. The Training Centre world was just a randomly generated world, and outside the structure that I built the students were free to explore the world proper.

An area of the Training Centre.
Building in the Desert

For my Grade 1 students, their next lesson started in the middle of a desert. I had built a blue rectangular path around the area for guidance and as a landmark. The aim of the lesson was to build structures primarily using sand. The students already knew about the unusual property of a sand block, that it will fall down without another block underneath it. We talked about strategies to solve this problem. Many students took it upon themselves to explore further and find other blocks to decorate their structures with. What was important about this session was that with each class I was able to have a discussion about appropriate online behaviour in a shared space, which I will talk more about later in the next post. Each group of children managed their task in a different way, and it was fascinating to see how some formed group structures and some built their structure away from the shared area.

Top: before students. Below: Three different classes, three different creations.
Building in Groups

With my Grade 3 students, I flattened a rectangular area in the middle of a forest. I split this area up into 4 numbered areas and split my students into small teams. As they had recently started with the concept of perimeter in their classrooms, on the suggestion of their classroom teachers I worked it into the lesson. Each team had to work together to build a structure on their area of land, and I gave them a basic perimeter guide for it - with one class, for example, I said their structure had to be 6x6. We talked about how we could check our measurements, whether the 6x6 would look rectangular or square and so on.

I prepped this grade for the group work, I gave each group 5 minutes of planning time off of the computers (in the 'real world') to discuss how they were going to tackle the challenge. I pointed out that everyone on the team would have different skill levels and it was up to the stronger players to help the new players with the job. Quite a few students got hung up on the idea of digging down to get better resources so I nudged them in the direction of building with dirt and wood then upgrading their structures when they were finished.

Arial view of the 4 build areas and the variety of structures.
The speed of their builds was impressive. Even though these were young children, they strategised their plans and built up their areas rapidly. Each group tackled the challenge in a different way. I loved the communication that I could hear within the groups: asking permission, suggesting plans and ideas, asking for help. Each team built a very different structure and when the time came to an end every class wanted me to keep their world safe so that they could continue building another time. Some classroom teachers suggested we keep Minetest installed as a reward activity which I think is a great idea given the high motivation of the students.

Team 2 used a variety of materials to build their gravity-defying house.
My students simply didn't want to stop playing Minetest. A number of them have asked how to get the game at home, even though they already play Minecraft. They are enthusiastic about the idea of using Minetest in a class to complete a common goal, and get deflated when I explain that our Minetest game can only be run locally, in the computer lab. Their next question is when the next time to play Minetest will be!

In the next post, I will be discussing the impact of using Minetest in the lab. I noticed many different areas of learning that I hadn't even anticipated so I'm looking forward to sharing those with you.

Next - Learning with Minetest Part 3: Impact on the Students
Previous - Learning with Minetest Part 1: Rolling out Minetest in Pre-Primary

Friday, August 19, 2016

Learning with Minetest Part 1: Rolling out Minetest in Pre-Primary


This blog post is part of a series of posts exploring the concept of using the Minetest game as a learning platform in a primary school. Click below to access the other posts:

Learning with Minetest Part 1: Rolling out Minetest in Pre-Primary
Learning with Minetest Part 2: Activities and Aims
Learning with Minetest Part 3: Impact on the Students

As a person who is an educator and has also played Minecraft, it's been obvious to me that the idea of mixing the two concepts together would be hugely successful. A 3D world focused on building is a very suitable game-space to develop many areas of learning. The creation of MinecraftEDU, which has recently been bought and re-released by Microsoft/Mojang, seemed inevitable. The US dollar price-tag for MinecraftEDU wasn't ideal, though I have always been interested in the possibility of bringing Minecraft into my computer lab.

Last week, I stumbled across Minetest. Minetest is a free, open source game which takes it's inspiration heavily from Minecraft. Minecraft itself was first inspired by a game called Infiniminer, we are the sum of our influences, etc. Nobody involved with Minetest makes a profit, the entire game framework is designed so that anyone can create mods for the game and the community shares the development. I wrote a proposal for my school administration which outlines the differences between the two games, which is available here.

Minecraft versus Minetest

In brief, when I brought Minecraft in to test in the lab it behaved sluggishly. The IT technicians had been concerned about setting it up on LAN as they had run into issues before. Modding Minecraft was a tricky thing as it had never been designed for modding. As I mentioned, the fact that it was a paid product also put a damper on the possibility of using it for learning.

Minetest was surprisingly easily for me to set up, in comparison. Even though there is less documentation out there for Minetest (they do have a wiki), I managed to get a server running in very little time at all. The student computers have the IP address saved so that when the server is running on my teacher station they can just enter their username and press Connect. Minetest performs incredibly smoothly, especially compared to Minecraft. A few days after finding it, I still marvel when I open up a world and there's so little lag.

Day 0 - Setting Up

After installing Minetest on a couple of machines to test the local server idea, I invited a dozen kids in to see how the concept would work. It was an after-school hour of utter joy, for them and for me. I was soon shown how much I need to learn about how hosting a server works, but it was also immediately clear how much potential Minetest could have. Something that proved crucial was modifying the config file so that the public lobby of servers was disabled for our students. I want them to only use Minetest locally, that way it is safer, we aren't bogged down by external mods, and they will be less distracted from the learning objectives. I learned how to do that here.

Day 1 - Grade R gets a sneak peek

Today I ran my first few classes through Minetest. I had wanted more time to prepare, but one of the Grade R teachers had mentioned that I had got 'Minecraft' working in the computer lab and the first class was beside itself with excitement. I decided to dive in with explaining how the W key was used for moving forwards, the spacebar for jumping, and the mouse for looking around. Many children had never used the keyboard and mouse in this way so it was a learning curve for them. As I hadn't thought to establish a strict ruleset to enforce digital citizenship, I used the golden rule of treating each other kindly. Next time I will definitely start with a rules and consequences discussion as I have seen on many Minecraft teaching blogs out there.

Helping our friend dig out a block.
The Grade R (age 5-6) children responded really well to the experiment. All of the children were soon able to navigate around the landscape, jump over obstacles and follow their friends around the map. Some children were comfortable with beginning to dig and place blocks, which will be the foundations of the building we will do later. All of the children wanted to play again, immediately asking me if we were going to play in their next lesson. This afternoon, a parent came to find me to tell me that her son had already explained about Minetest and how much fun he had in Computers today. It's always great to hear that my ideas are helping students become enthusiastic about their learning.

Exploring our desert world.
Next on the agenda is introducing Minetest to each of my classes, beginning each one with a discussion about the rules. I'm expecting something along the following lines:
  • Use your real name to log in.
  • Leave other people's buildings alone.
  • Treat each other kindly.
I will be using the huge realm of information that has been written for using Minecraft in an educational context, many of the lessons and guides can easily be applied to the Minetest environment even though it isn't as sophisticated. I also want to get my classroom teachers in for a Minetest lesson so that they can let go of their reservations about using such a popular game for learning. If we can harness the platforms that the children are naturally drawn to for the power of good, then I think we'll have done something great.

H finds a warthog.

In the next part of this series, I will be discussing how I went about setting up Minetest for my various classes. This includes the worlds that I used and the activities that I planned. Click below to access part 2: