Showing posts with label #gbl. Show all posts

Monday, October 02, 2017

Pirate Cove Part 2: Digital Project-Based Learning in Minetest

This is post 2 of a two-part series on using Minetest to explore project-based learning with Grade 3 students. Click here to read Pirate Cove Part 1: Digital Project-Based Learning in Minetest.

Step 4: Check


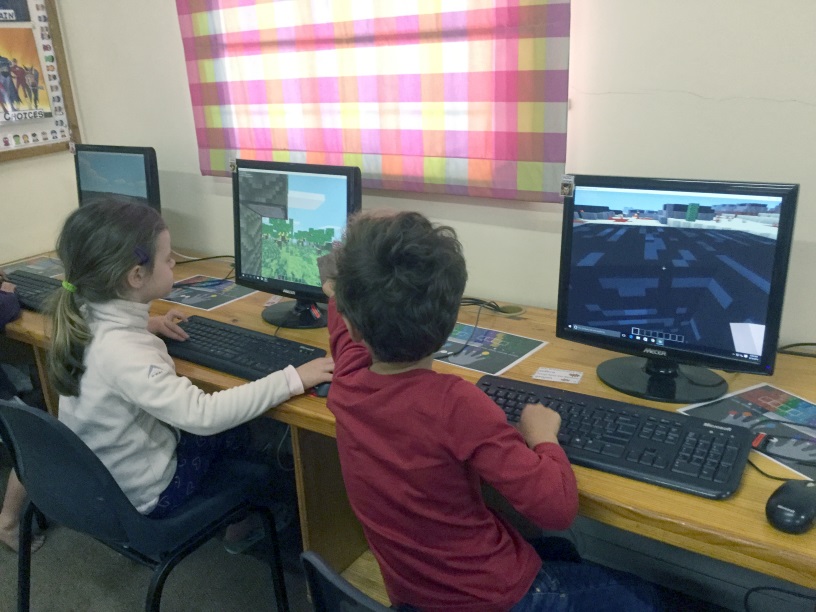
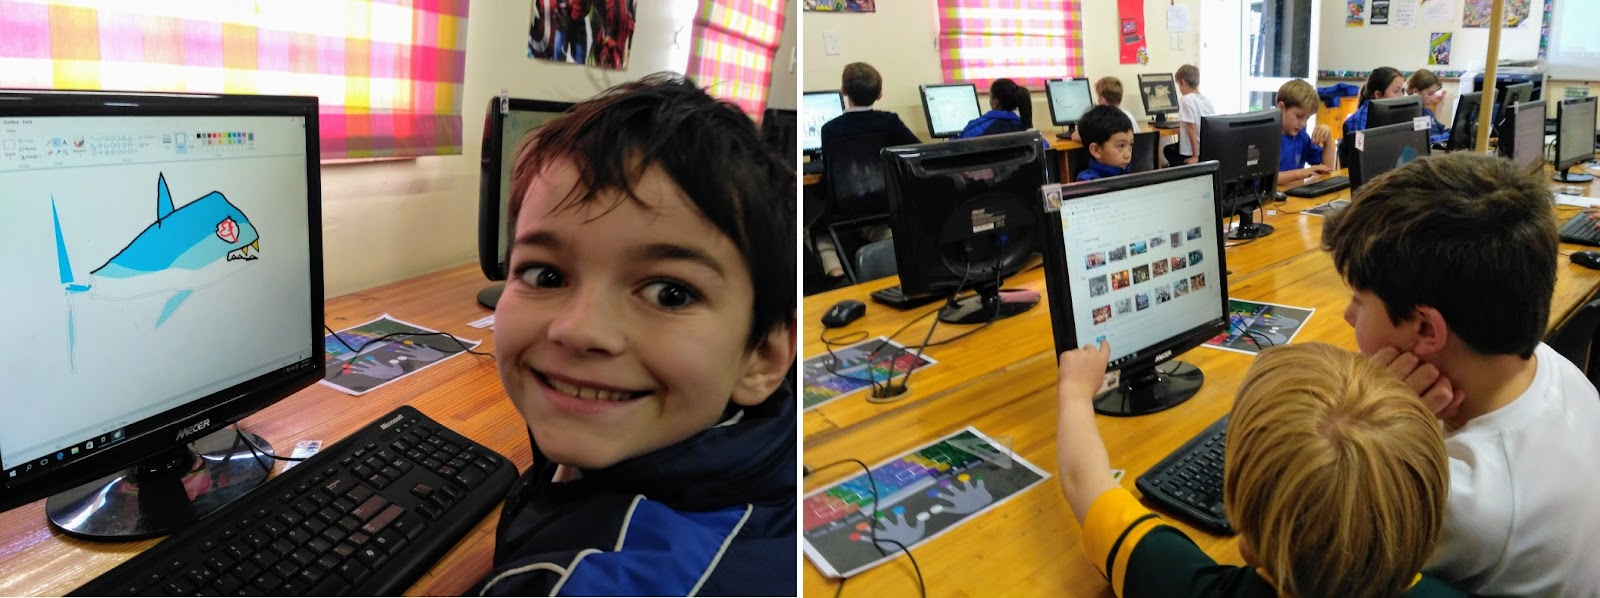
I included a checking step in the project: all of the 'paperwork' had to be done before the teams could earn building time in the game. This was an opportunity for all of the student teams to finish the research and design phases and help anybody in the class that needed extra help. I emphasised that our pirate town is a community and we all had to help each other. This mentality was later seen in the building phase as students asked to help other teams finish their buildings. Our lessons during this project were quite intense and busy for me and this built-in checking step helped me actually have a chance to look over their written work and ask students to adjust their work if needed.

checking.jpg

Step 5: Build!

This was the highlight of the project for the students and the part that provided the motivation to complete all of the previous steps! The students logged in and we spent a chaotic first session getting used to the controls, the map we were building on and the plots that the teams were allocated. My students impressed me with their levels of cooperation, they really tried very hard to follow the rules of Parley and stay focused on their objectives. Despite a large range of skill levels, the students helped each other learn basic tips and tricks to make their building projects a success. I rewarded the most helpful pirate of the week with permission to wear a gold medallion which further helped to incentivise helpful behaviour.

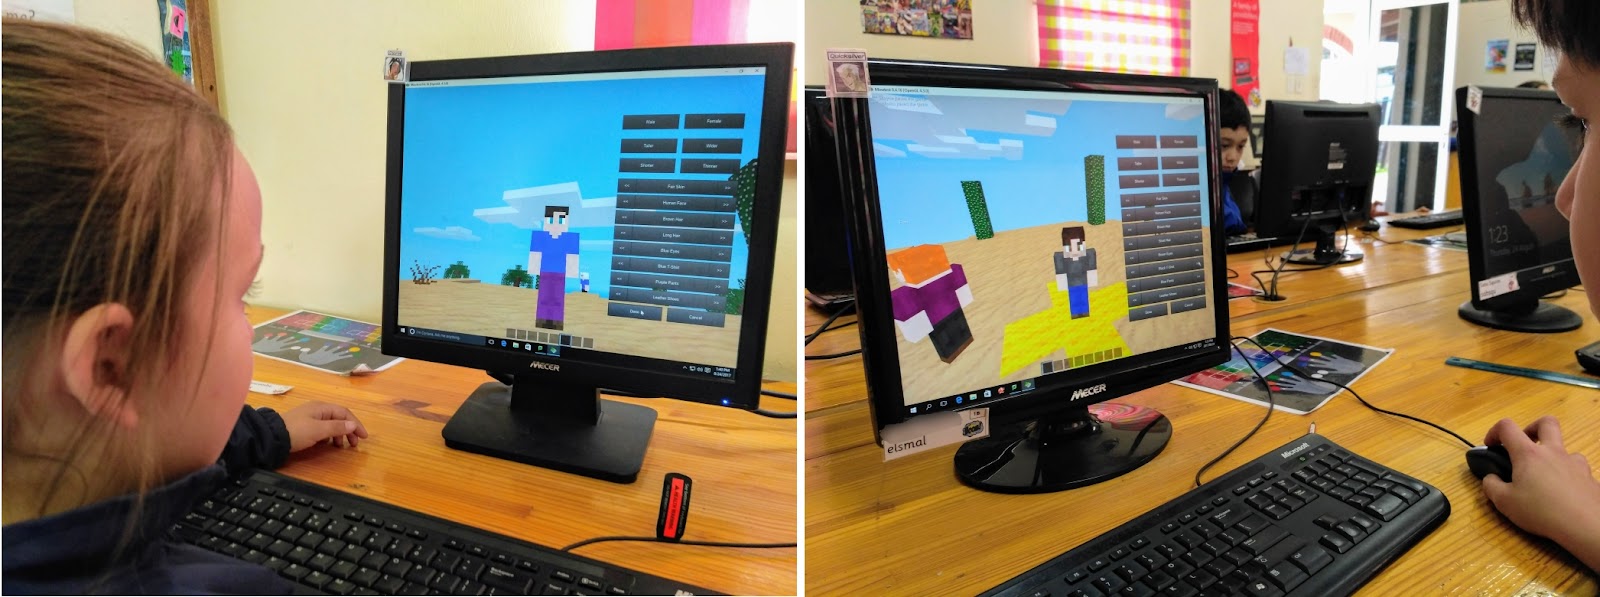
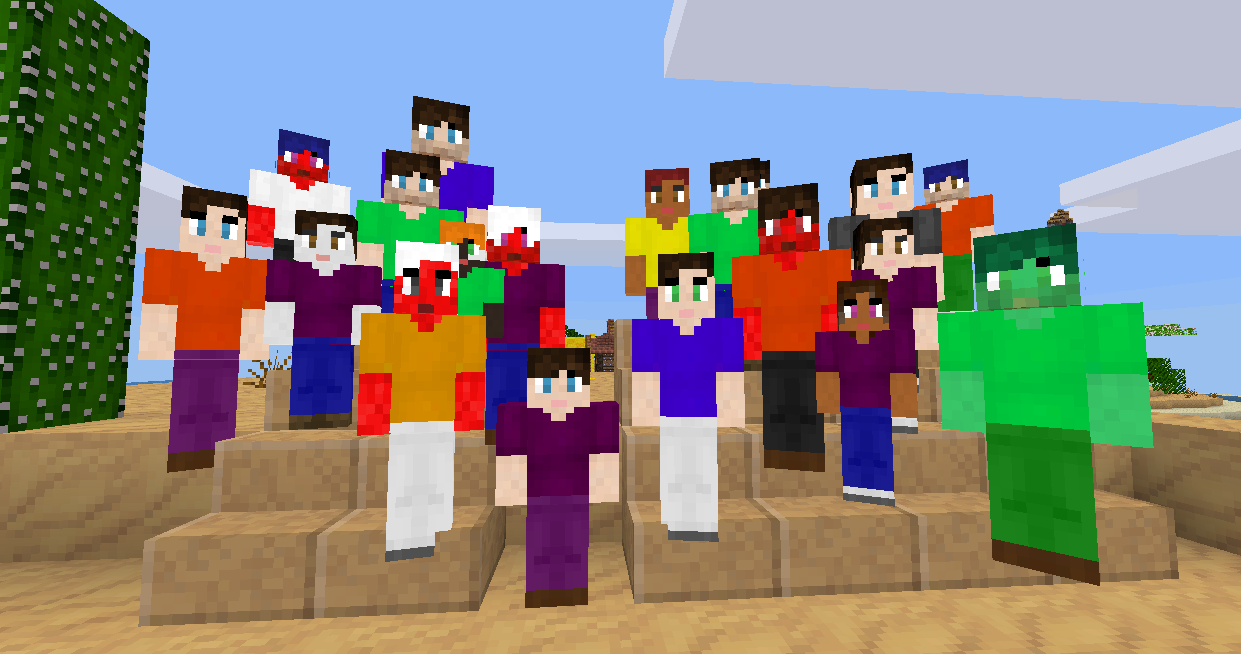
The Minetest version we used allowed for the students to customise the appearance of their character, which was massively popular. This feature had the side effect of teaching the students about using Function keys on the keyboard (F7 changed camera perspective) and the importance of a correct username (if they logged in with a differently spelt username they lost their customisation).

chars.jpg

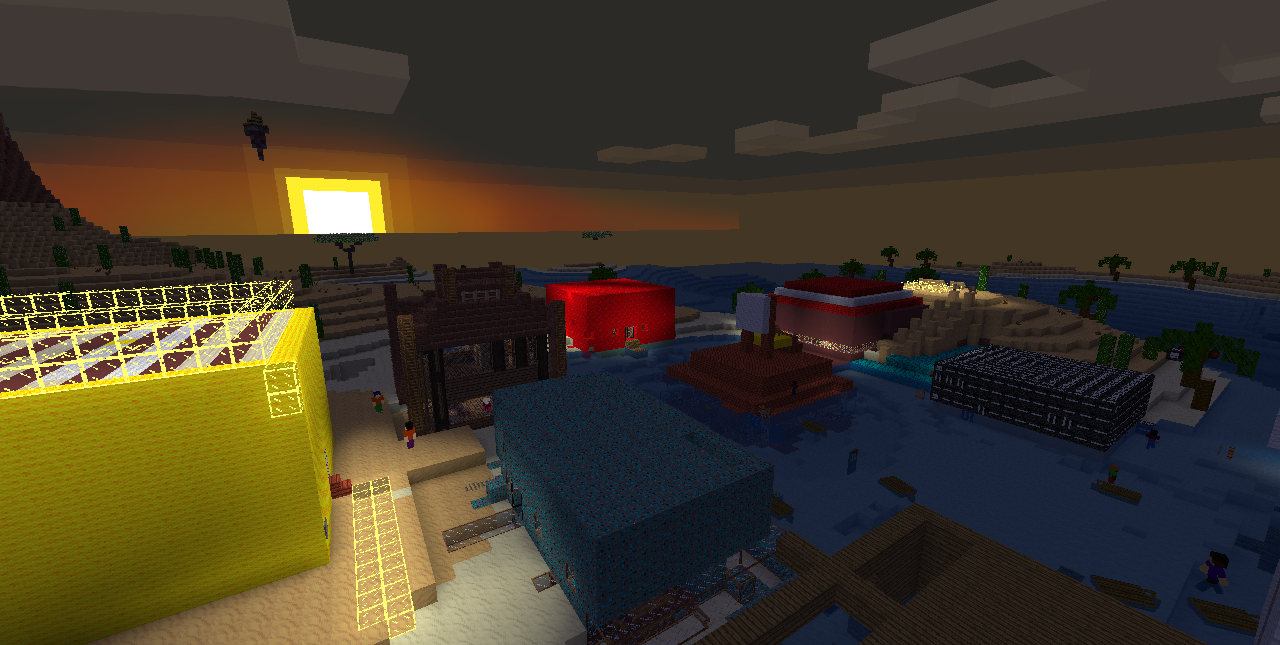
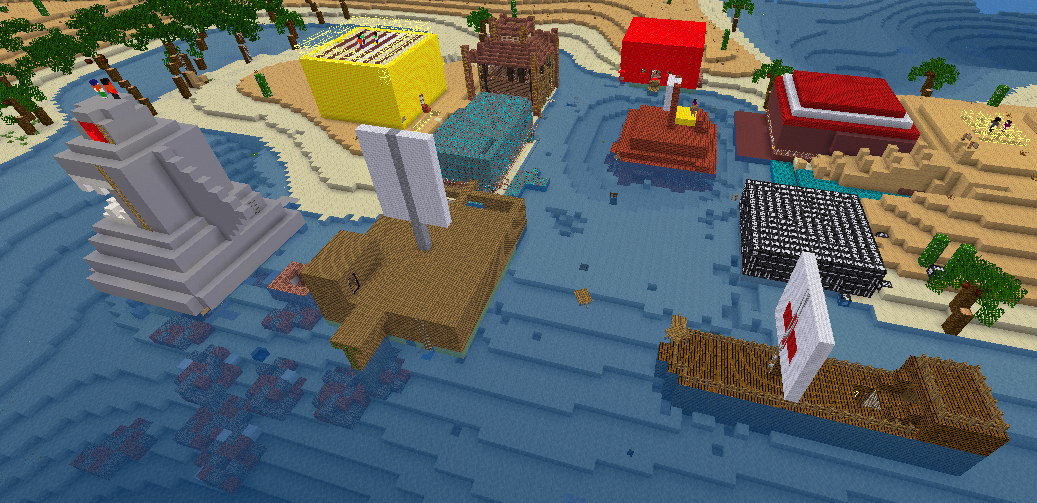
We constructed our pirate coves for a total of 4 hours = 1 hour per lesson. In that limited time both classes finished their assigned buildings and worked together to improve their towns. Students came up with original ideas to customise their town: one class worked on a large statue with a pirate hat and another class came up with the idea of creating a path to join up their buildings. Here a sample of one pirate cove being built up over the four lessons.
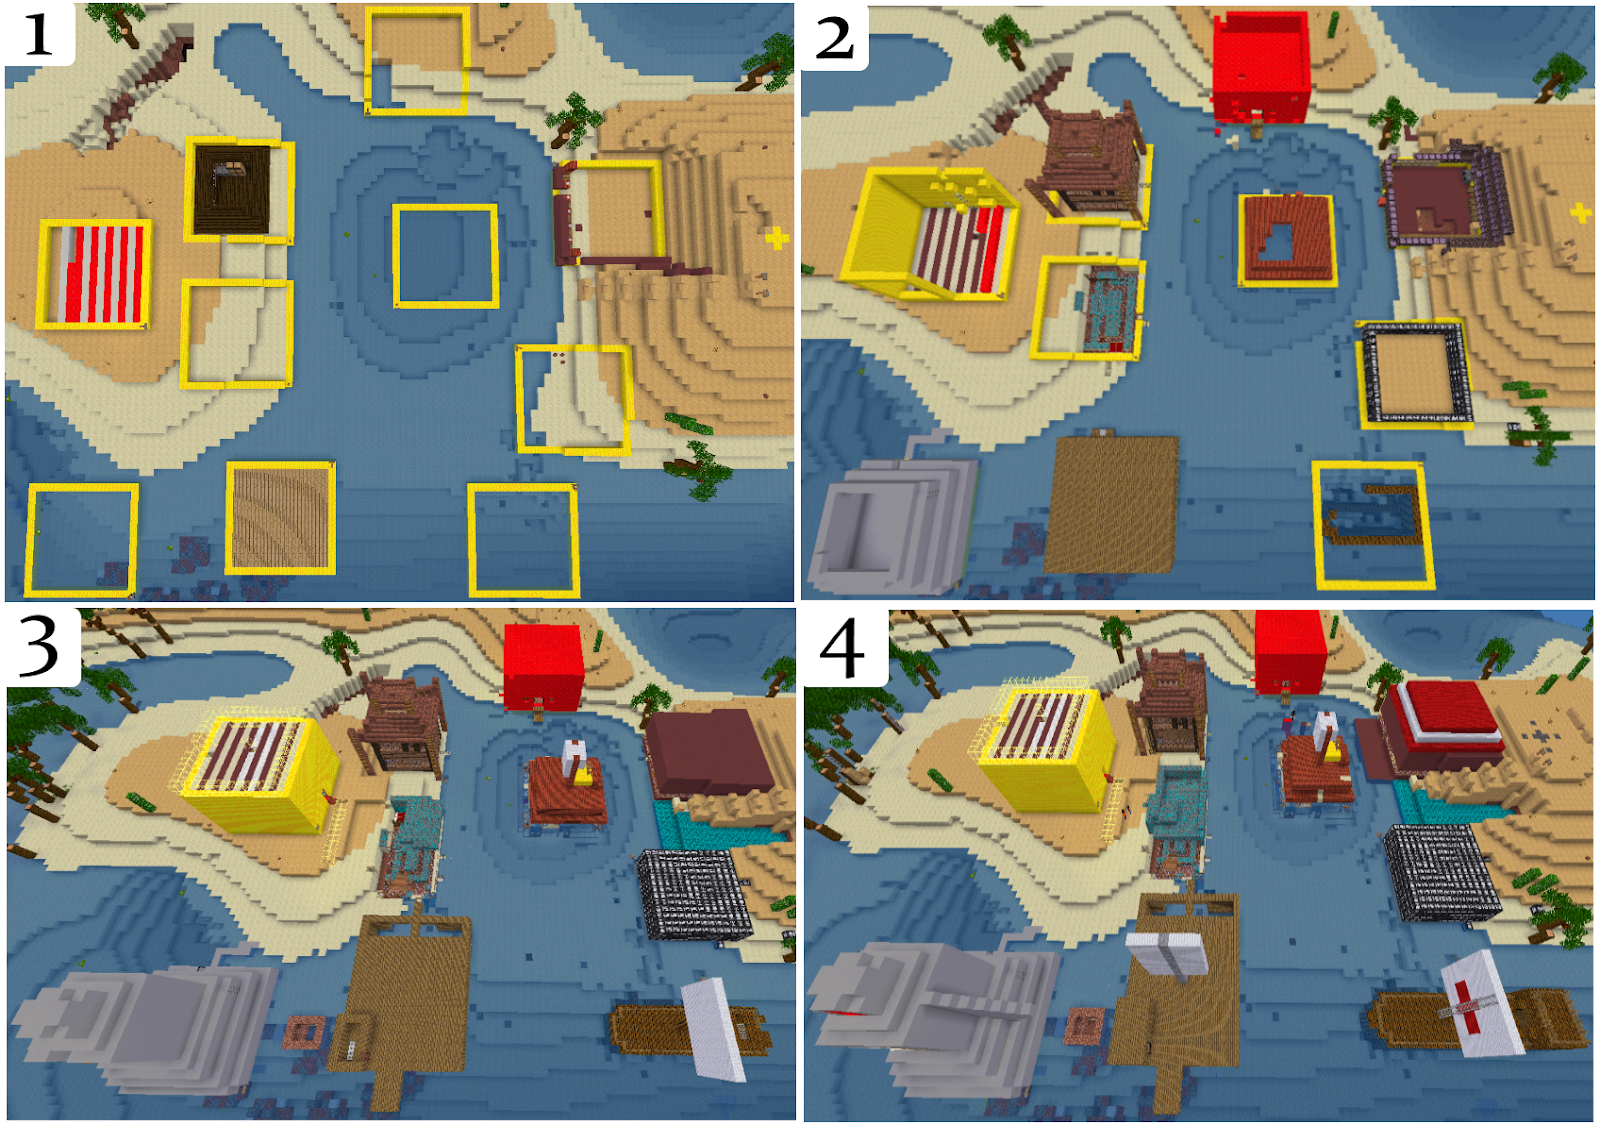

3H Timelapse.png


The final lesson was set aside for students to leave their plots and walk around the town, exploring what they had built together. At their request, I set the game time to night in order for us to see pirate cove lit up from the light of the lighthouses and other buildings. At the end of the lesson, I asked the students to park their character in a spot of their choosing as we turned the server off for the last time. Most of them chose either a beautiful viewpoint or inside the building they had made. One student gave this advice:


When the time comes to turn the server off forever, make sure you go somewhere with a good view.


Poignant!


Click here to view a slideshow of screenshots from our finished pirate cove project.


Step 6: Reflection


The students learned how to take a screenshot on a computer (print-screen key) and paste it into Microsoft Paint. After saving it, they imported the screenshot into their Building Quest document and completed a reflection page about the project. We then discussed advice we would give next year's students:


  • Don't jump into deep holes looking for shiny rocks, you will get stuck.
  • Work as a team and listen to your partner's ideas.
  • Keep your idea simple, don't let it get too complicated.
  • When you dig don't dig straight down, it's dark.
  • Ask people for help if you need it.
  • Don't sit in chairs, you will get stuck. (we had a few glitchy chairs)


I feel this is a refreshing mix of advice relevant to the game and also to wider contexts!

Step 7: Learning

Learning areas for this project included:


Digital literacy:
  • Online interactions and appropriate behaviour
  • Design process
  • Online research
  • Integrated studies: Pirates


ICT skills:
  • Software: Minetest
  • Software: Google Slides
  • Software: Microsoft Paint


Computational thinking approaches:
  • Collaboration
  • Persevering
  • Creating
  • Tinkering


The students and myself thoroughly enjoyed the experience of project-based learning in ICT this term. The maps for each pirate cove have been saved for posterity and future showcases.

Completed Building Quest Projects:


Pirate Cove Part 1: Digital Project-Based Learning in Minetest

Ahoy! Welcome to Pirate Cove!

Digital Project-Based Learning in Grade 3

Background: Objective


Pirate Cove was a 9 week project that I ran with two classes of Grade 3 students. Each week we had one hour of lesson time to work on our project. The Grade 3s had a term-long Pirates theme that stretched across all learning areas and I wanted our ICT lessons to integrate with that theme. I dedicated the entire term to the project as I wanted students to become invested in our final, collaborative product - a pirate town built in the computer game Minetest. Aside from learning how to play the game together and various ICT skills (screenshots, image manipulation and importing), I wanted my students to research, plan and design their building project and reflect on the process.

Background: Technical

Minetest was my chosen Minecraft clone because it was free and runs well on the computer lab Windows machines. It also runs locally which means that it didn't require any bandwidth or internet to run. Each student used a Windows desktop to access their project document (Building Quest) as well as build on Minetest. The students had briefly experimented with Minetest last year and some remembered it fondly, but this project was the first time any of them had spent longer than an hour with the game. I've written more about Minetest on my blog here.

crew.png

Step 1: The Building Crew

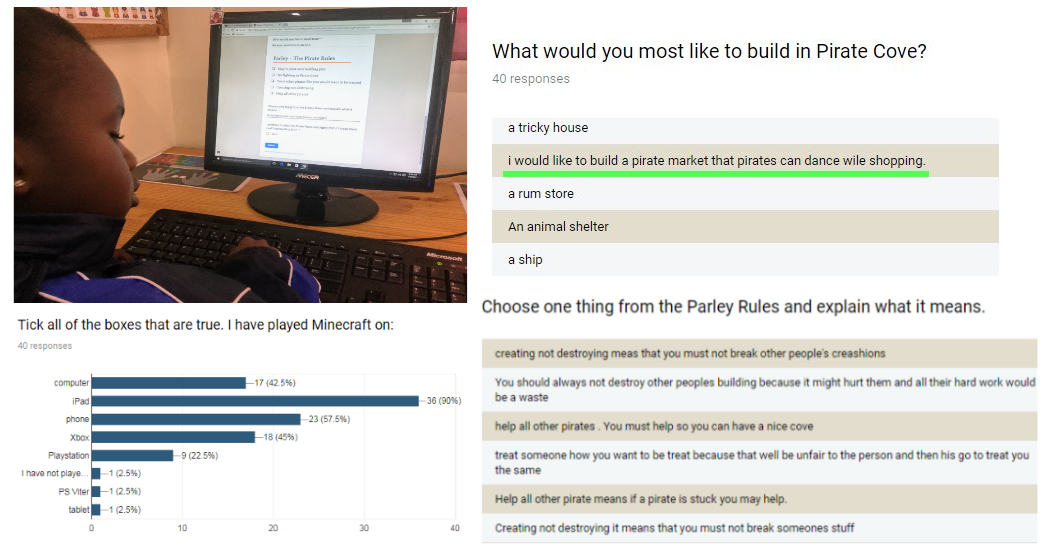
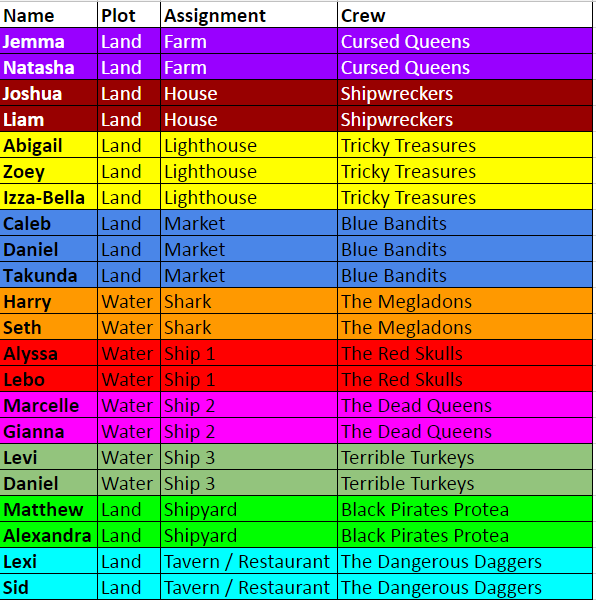
The first step for us was to determine what we were building. The first lesson was taken up with explaining the parameters of the project, our goals, and giving the students time to come up with ideas. They filled in this Google Form so I could gather data about how much experience they had in Minecraft/Minetest and what they wanted to build. I used their responses to build up a number of teams (building crews) in each class, roughly based around what the students requested. I also used this step to introduce our rules of Parley, which covered expected behaviour to work together and not cause any trouble.

The survey allowed me to gather data from the students and sort them into compatible teams. The students were sorted to balance out experience at this kind of game and type of building they wanted to work on. They chose the crew names themselves and became quite attached to their colours!

survey.png


Step 2: Research

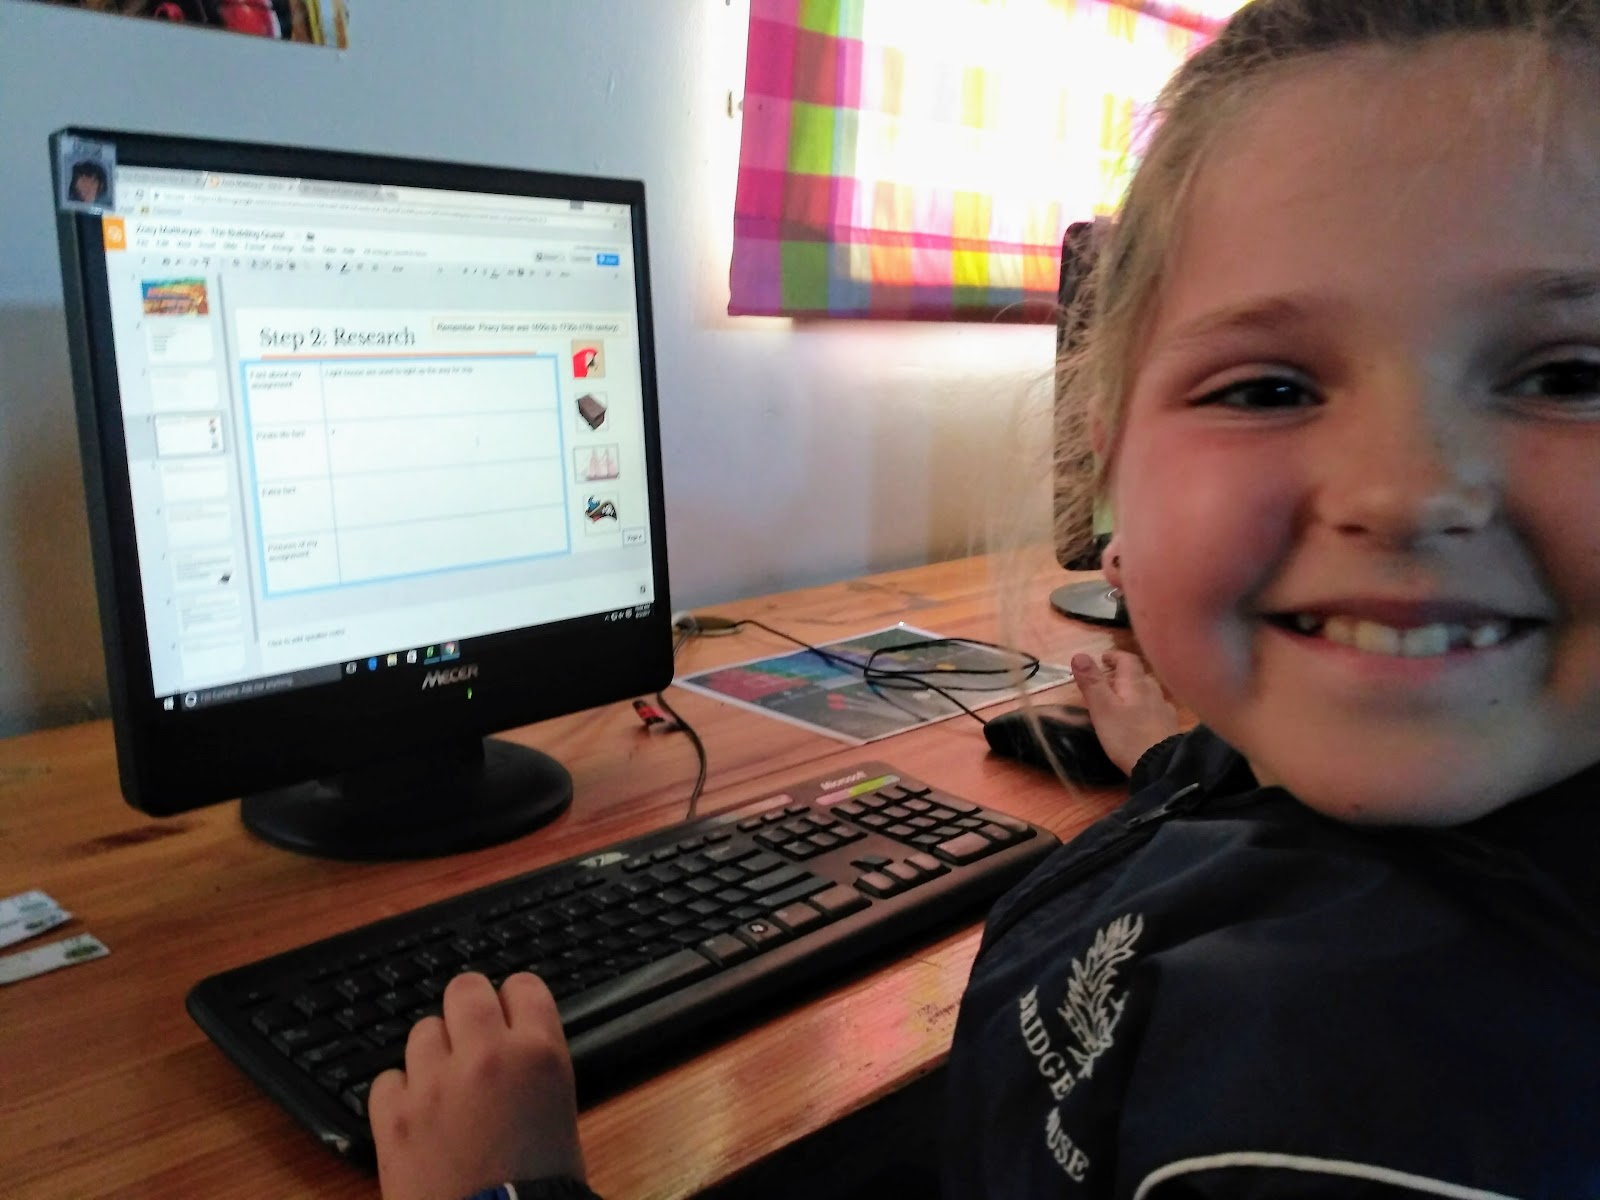
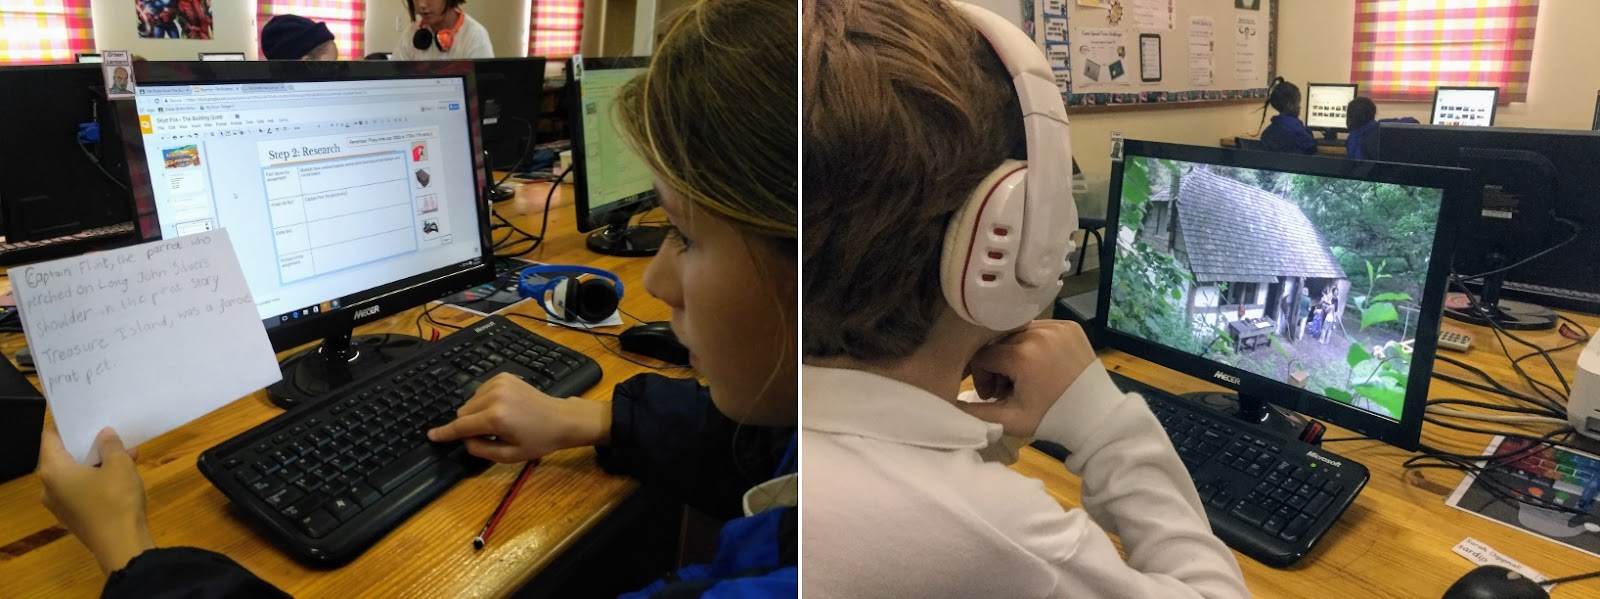
The students were sorted into their teams and we rearranged the seating plan so that teams could sit next to each other. While this created a delay in the beginning with logging into new machines and profiles, in hindsight this was an excellent choice as it helped students work together with their partners. They started work on a structured research task to find out more about their building assignment. The students each worked in a Google Slides workbook (Building Quest) where they completed all of their 'paperwork' for the task. There are links to samples of completed workbooks at the end of this write-up.


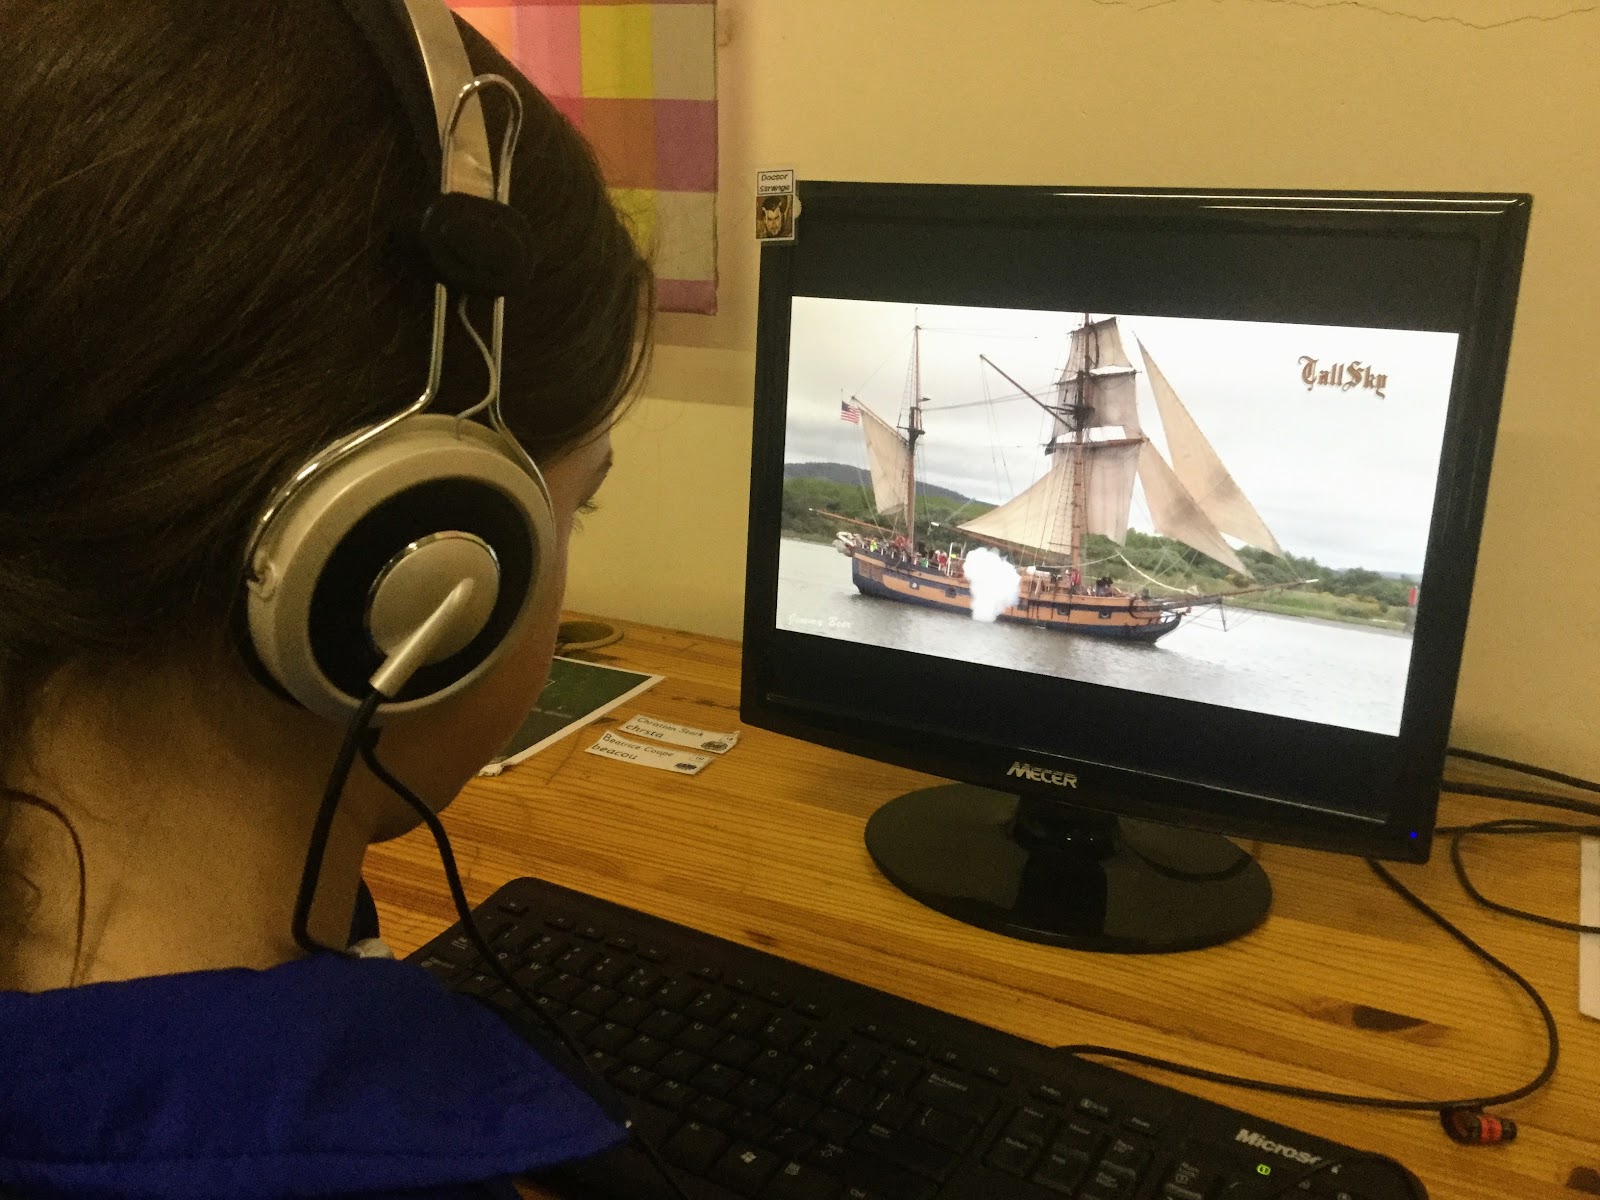
Students used a bank of suggested websites as well as saved videos to learn more about their building assignment. They had to try and find out information about the types of materials that would have been used to build their assignment in real life during the 16-17th century. Each step of the project was clearly laid out and teams were able to move ahead with the next step as soon as they felt ready to. I was able to take certain teams aside to give them individual support to complete a task they needed more help with. This differentiated approach was a new experience in the ICT lab and the students appreciated being able to work at their own pace.

research.jpg

Step 3: Design

Once the research task was complete, students moved onto the design phase. They used Microsoft Paint, a new program for us, to sketch out a proposed design for their building. The students largely learned how to use Paint from each other. For the group of students that needed it, I ran a brief tutorial on the basics of the program. Afterwards, the students saved their design (giving the image file a good name!) and imported it into their Building Quest document. The next phase was to label their design to give it more detail, then complete a 5 sentence write-up of what their design would be made of.

I believe that including this design step helped the students become much more invested in the later process of building. I was blown away by the quality of their work!


This is post 1 of a two-part series on using Minetest to explore project-based learning with Grade 3 students. Click here to read Pirate Cove Part 2: Digital Project-Based Learning in Minetest.

Friday, September 09, 2016

Learning with Minetest Part 3: Impact on the Students


This blog post is part of a series of posts exploring the concept of using the Minetest game as a learning platform in a primary school. Click below to access the other posts:

Learning with Minetest Part 1: Rolling out Minetest in Pre-Primary
Learning with Minetest Part 2: Activities and Aims
Learning with Minetest Part 3: Impact on the Students

Our Minetest experiment has ended for the moment. During the last month my Pre-Primary and Junior Primary students have been exploring the game Minetest in their IT time. This post will discuss the impact that Minetest had on the students.

Spatial awareness:
Students have had to learn how to use both the keyboard and mouse independently. Minetest has been an enormous motivator for children to become comfortable with manipulating the controls with both hands working independently of each other. I have been surprised by how quickly the reluctant children became able to move around the game world. Every child that played was able to complete the basic movement training within half an hour, even those who had never played Minecraft.

Social and emotional development:

Many discussions were had about in-game appropriate and inappropriate behaviour. Children asked permission when working in another person’s building space, collaborated together on activities and also dealt with situations that were not positive. Every class used a ruleset which emphasised appropriate behaviour and we used that as a framework to structure how we played the game. Multiplayer games are extremely common in this age range and much as we model correct choices and behaviour in the classroom, Minetest was a great space to model appropriate choices and behaviour in an online space.

Opportunities for social modelling and development.
Problem solving and logical thinking:

Students navigated a 3D world space and created structures in it. They had to design what they wanted to build, gather resources for it, work out the different properties and mechanics of the game world and adjust their plans based on other builders. Some children began to investigate deeper mechanics such as creating tools to increase complexity of what could be built.

Digital skills (online safety):

All students discussed the difference between playing on the internet at home and playing Minetest in a school environment. We talked about safety when playing on the internet and the differences in the rules due to Minetest being played with a teacher. Much of the online safety discussion intersected with the social and emotional development aspects, as we talked about our behaviour in a game-space and how we could work together in a positive way. The Grade 3 classes talked about ‘trolling’ and ‘griefing’ (destructive/abusive behaviour) in online games and what we could do about it.

Summary:

Even though we have only ran Minetest as a pilot for 1 or 2 sessions per class, I the students developed a lot of key skills. Some of these were deliberate aims, such as digital skills and online safety, but many developed that I hadn’t considered before running the game:

Areas of the JP Technology Skills Checklist 2016 (Grade 3) that were developed using Minetest:
  • Interface
    • Mouse - 
      • Left, right and double click
      • Scrolling
      • Using hand/wrist to move mouse instead of entire arm
    • Keyboard - 
      • Functions of enter key and spacebar
      • Improving typing and keyboard fluency
  • Internet and research
    • Collaboration using technology
  • Digital skills (online safety)
    • Safe browsing: inappropriate websites, advert and pop-up navigation
    • Personal information safety, nicknames and login names - who needs to know?
    • Collaborating productively in an online space, how to handle conflict in a shared space
    • Cyber-bullying, appropriate behaviour online
Minetest is a highly engaging platform for student learning.
Minetest is a learning tool that is highly motivating for children because it mimics many gameplay elements of the popular Minecraft game. Minetest is appealing as a teacher because much of the uncertainty of online play has been removed, we only run our game within the computer lab. Because of this, it allows Minetest to be available to use to pursue learning goals. A 3D world space where the students can create their own structures makes it an ideal place to explore perimeter and area. The cube-shaped blocks allow for construction challenges or counting games. Schools around the world have used Minecraft in all areas of their curriculum and Minetest can work in a similar role.

If Minetest was used again in the computer labs I think that I would see it’s value as a learning tool increase now that most children that I teach are comfortable with the basics of playing the game.

I hope that you enjoyed this series on using Minetest. Please feel free to contact me on Twitter (@moniquefranzsen) to chat about using games for learning.

Previous - Learning with Minetest Part 2: Activities and Aims

Thursday, July 14, 2016

Game Review: Everybody's Gone to the Rapture

Game Review: Everybody's Gone to the Rapture
Developers: The Chinese Room

Welcome to Yaughton.
As someone who grew up in the UK, Everybody's Gone to the Rapture feels just like being in a Real English Village. The train station with uniform signage. It always interested me as a child that no matter what train station you went to, they always looked the same. The rainy caravan camp with scheduled activities. The pretty surroundings filled with people with insular, close-minded views. Two pubs and a church within walking distance but not a whole lot else going on. The Keeping Up Appearances houses, complete with slim white telephones. People still being considered outsiders or 'blow-ins' because they've only been living there for 1 or 2 generations... I've had authentic experiences of pretty much all of these things!

Hop on the train to Yaughton

The main story is a good scene-setter, there is a big ominous observatory near the village and we experience events surrounding two of the scientists that work there. It's a pretty straightforward sci-fi plot, and I'll always root for a decent sci-fi story. The real enjoyment for me, though, came from piecing together the inhabitants of the village, their relationships with each other and their trials and tribulations. Despite it being set in a different decade, I was often reminded of J.K. Rowling's adult book, The Casual Vacancy. Both this game and Rowling's novel are character studies, where you slowly figure out how everyone is interconnected. I really appreciate that gaming has come so far as to be compared with literature, even if it's only by me.

The voice acting and music are fantastic, especially given the limitation of not being able to see the characters - all the character interaction that we experience is in flashback. Without even seeing Wendy I could start to picture her as an old, interfering biddy the longer that I listened to her voice. Rhys and Rachel stood out as those rare younger folk of the village and I enjoyed their side-story immensely. They have some great choral music that seems to play along with appropriate story triggers, the music elevates certain important scenes to make them quite poignant. The emphasis on audio to tell the story reminded me of the tradition of excellent radio plays, where the acting needs to be that good so that the listener can tell what's going on. On reflection, I actually listened to Rowling's The Casual Vacancy as an audio book, with an excellent narrator voicing the characters. This is why EGttR and that novel both mirror these themes for me. Kudos to the voice artists and sound team, they really made the game a cut above the rest.

There is a fine old windmill on the hill overlooking Appleton's Farm.
Glowing balls of light

You are shown around the village by a moving, glowing ball of light, which was problematic at times. At one stage my ball of light got stuck in a hedge, leaving me on my own to hopefully trigger the right story-sequences, which are proximity-based. In the final section all of the voice-notes that were supposed to trigger just didn't, leaving the whole thing far more eerie (to be fair, I didn't realise there was supposed to be commentary on what I was seeing until reading forums after but I would have preferred the full experience). In certain sections I wandered around fine and hit the correct story beats, but in one or two places I sadly had to resort to a guide to complete that area's story. Adding some mechanical, game-y elements like objectives, a mini-map or waypoints certainly would have reduced my confusion. Unfortunately, doing this would probably have taken away from the mystical element of the glowing orbs.

The picturesque village and surrounds are absolutely beautiful. I was going to just grab some screenshots available online to demonstrate this but the idea of jumping back in to the game to take my own was exciting! For anyone that really enjoys taking an in-game walk and seeing the sights, EGttR has corn fields, shady forests, windy footpaths and more for you to explore. Gaming tourism at it's finest. If you have a decent rig then the game will be even more stunning, I was only able to play on lowish settings.

Stop by the village church.
Walking simulators?

Walking simulators is the label given, sometimes disparagingly, to games like Everybody Goes to the Rapture. The aim of the game is, yes, to walk around. You stroll around the game and interact with things, usually such as books or audio recordings, which helps unfold a story about the place that you are exploring. You don't get a weapon, which in a first-person video game is near-standard. You don't even get to jump or run very fast. Wikipedia calls EGttR a first-person adventure art game, which is a more appropriate moniker.

Some gamers turn up their noses at the 'art' tagline, saying that games that are trying to be art are pretentious:

"Games are supposed to be fun!" 
"There's supposed to be enemies!" 
"You're supposed to shoot things!" 
"You're supposed to level up!" 

Some of these statements I've found to be less true than others. As someone who rates narrative as the top thing I care about in a game, walking simulators are fantastic. I found that wombling around Yaughton and piecing together a narrative quite fun. If you're the kind of gamer that wouldn't enjoy that, well, just keep on walking.

As someone who has become a fan of of walking simulators, EGttR was unfortunately more like a crawling simulator. The walking speed is incredibly slow. The devs have released a post explaining that there was actually a run button, which I hugely appreciate them writing - it had been forgotten to be emphasised at release, causing some reviewers to really slam the game. Even with the run button, though, I found the default speed entirely too slow. To run you have to hold the key down which becomes tiresome. I understand the developers not wanting anyone to ruin the experience by bunny-hopping around the idyllic English countryside, as we tend to do in first-person titles, but I had to resort to using Cheat Engine to change the movement vales to something a bit less lethargic. They do prevent you running near important story areas, which I respect, in order to make sure you aren't missing anything.

Barbara will be able to help you at the surgery.
So why bother?

How is playing this game better than reading a book or watching a movie with the same premise? This is a common criticism leveled at walking simulators, and I think it's a genre that game developers are getting better and better at exploring. During my own play-through I did grumble about the shortfalls above, but I have now gone on to write this quite robust review. The game made an impact on me. Despite some mechanical reservations, I really enjoyed my time with EGttR. The atmosphere was unique and authentic. When I stepped into the access tunnel near the end, I could almost smell the rainy, cold smell of a similar place from my childhood. I just wish that you could explore more of it - some of the houses are explorable but some are not, leading to some time wasting.

The train station for Yaughton and Tipworth.
I suggest you play Everybody's Gone to the Rapture if you want to be immersed in the sights and sounds of a trip to the 1980's village of Yaughton. Don't forget to pack your wellies.

Thursday, June 23, 2016

Making Games in Scratch with Junior Primary


This post marks the end of an 11-week adventure. For the last couple of months I have been running a Coding Club for a group of 8 and 9 year olds. I wrote briefly about this in May but I thought that a more comprehensive wrap-up post would be fun for me and formative for you.

At our school we are lucky enough that each week we have some time set aside for Clubs. In club time our teachers host a variety of interesting, hobby clubs that our Grade 2s and 3s choose from voluntarily. It's a great exercise in student choice, that they don't have to choose an activity based just on what their friends are doing. We encourage them to choose an activity that is something that they personally would really like to do.

My eager bunch of coders had a mixed background - some had participated in Coding Club last term, some had taken part in the Hour of Code we did last year and some had never done any coding before. They were incredibly enthusiastic, particularly because I had framed our club around making games.

An example of some Scratch code created by one of my Gr 3 students.
All About Scratch

We used a freeware program called Scratch for our club. In case you haven't heard of it, Scratch is a hugely popular program where click-and-drag blocks are used to create instructions. It's very kid-friendly even though what you can create can get quite sophisticated. I had never learned coding before becoming a teacher and Scratch is a great introduction to the concepts behind coding, Coding has method and logic attached to it, and Scratch teaches that using method and logic can produce art, games, puzzles and even more. Coding has really become a type of 21st century literacy and Scratch propels that form of literacy forward.

CS First is a fantastic website that creates entire Scratch coding courses around themes. Our limited bandwidth means that I couldn't use the CS First built-in courses that function with the Scratch online site, so I used their course materials and an offline version of Scratch. Click here for instructions and links to what you need to get Scratch running offline. Our coding club was built around the great Gaming module on CS First. Each week I would take the group of students through a Scratch template projected on the board and demonstrate what coding blocks we would be using for that lesson. Then I let them loose on their desktops, sometimes in pairs or on their own depending on the activity.

This is what the Scratch platform looks like in action.

The Benefits of Using Scratch at a Junior Primary level:

I was incredibly impressed with the focus that this group of kids had. Despite their young ages, they managed to grasp the outcome of what I was steering them towards and really went for it. I learned along with them as we created:
  • a racing game for two players
  • a space-themed maze game
  • a platform game where we had to program x/y co-ordinates (!)
  • a bunch of other wacky and weird experiments
A sample of my students' creations.

The Challenges of using Scratch at a Junior Primary level:

There were very few challenges that we found. The offline version worked well and was very stable. 

Navigating file structures: We were able to save our projects into our local drives and retrieve them, and though some of my students still struggle with a Windows file structure we managed fine.

Reading: Literacy levels could be a barrier to enjoying Scratch because although the blocks are colour-coded the students still had to read the functions of the blocks. Using Scratch enhanced my students' vocabularies with words they were not using before like degrees, co-ordinates, sprite, percentage, function ... the list goes on! Coding was so fun that it was great motivation to tackle any tricky reading required.

Expectations: When explaining the concept of coding to my students, many wanted to immediately create Minecraft or Clash of Clans. It took a bit of work to get them to have realistic goals that they could achieve in a few sessions. Once they got the feeling of what they could do with Scratch, they regained their enthusiasm and really started to experiment.

Coding to create a magic spell!
At the end of our last session I awarded certificates to all of the students who took part. They received them with such genuine glee that it really made my day.


I would highly recommend Scratch for anyone who wants to introduce coding to primary-age children. It's offline client really saved us because so many amazing online tools are just not reliable for us yet due to our limited bandwidth. My students loved their creations and will now often choose to play on Scratch during free-time during IT time.