Ahoy! Welcome to Pirate Cove!
Digital Project-Based Learning in Grade 3
Background: Objective
Background: Technical
Minetest was my chosen Minecraft clone because it was free and runs well on the computer lab Windows machines. It also runs locally which means that it didn't require any bandwidth or internet to run. Each student used a Windows desktop to access their project document (Building Quest) as well as build on Minetest. The students had briefly experimented with Minetest last year and some remembered it fondly, but this project was the first time any of them had spent longer than an hour with the game. I've written more about Minetest on my blog here.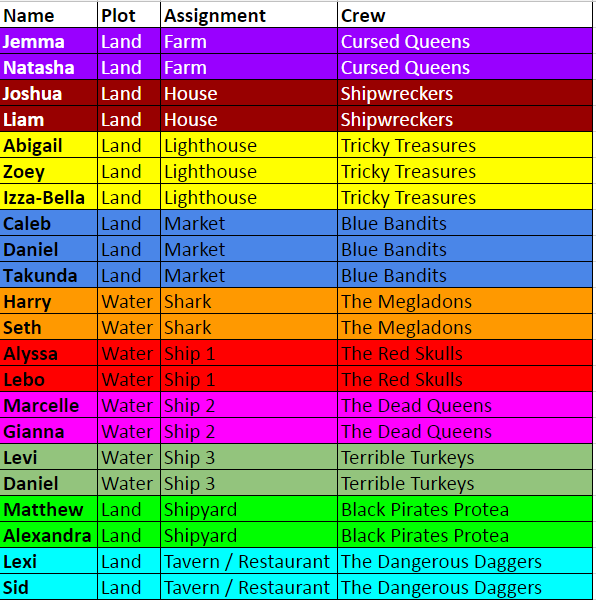
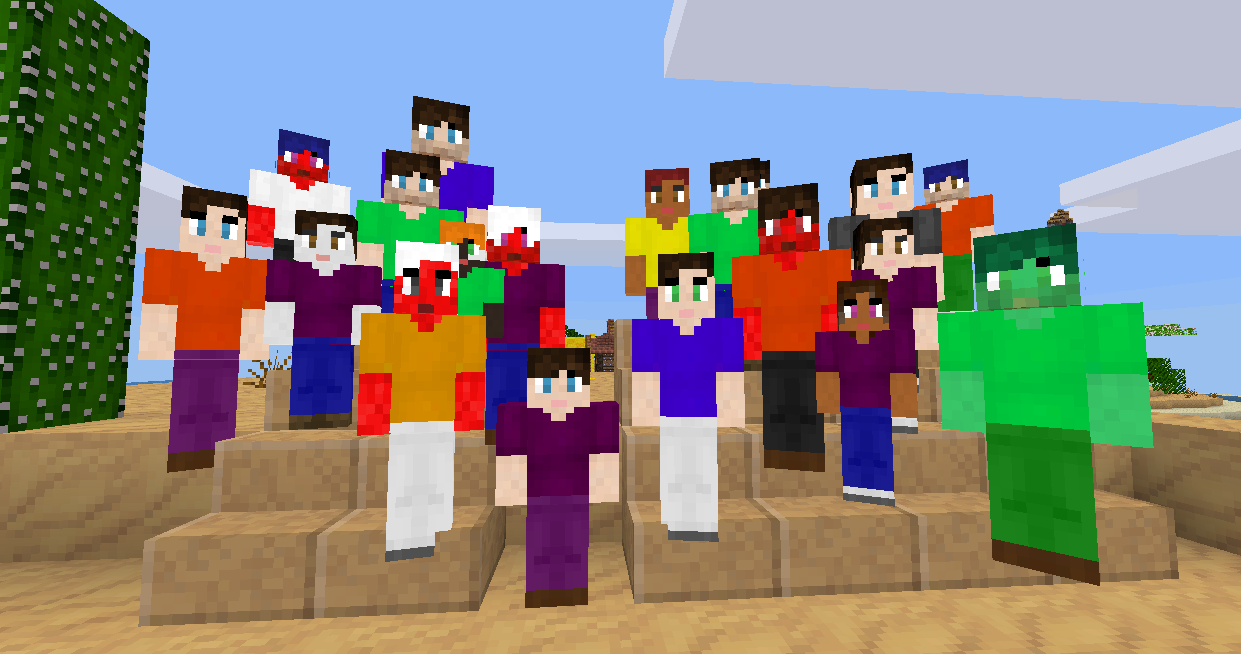
Step 1: The Building Crew
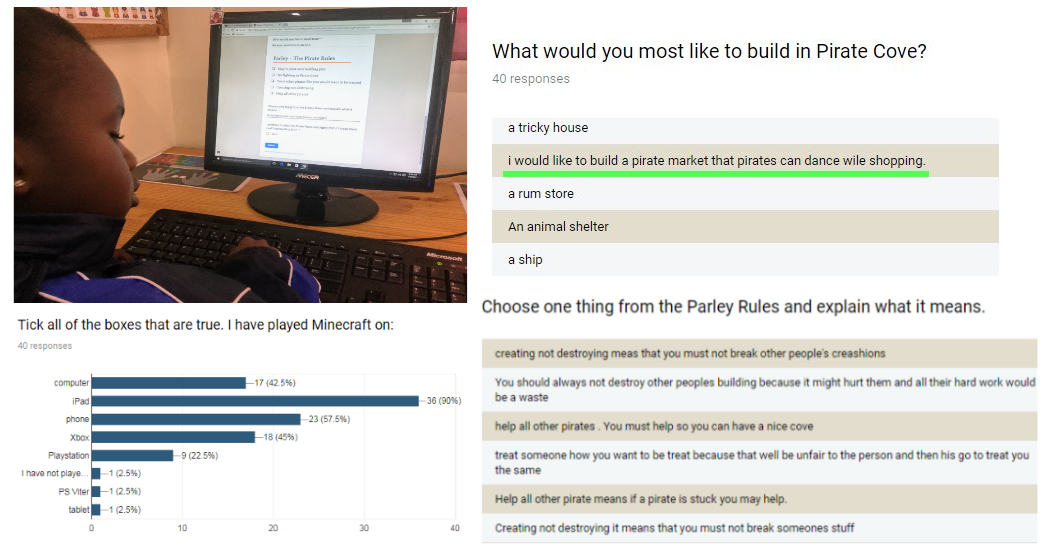
The first step for us was to determine what we were building. The first lesson was taken up with explaining the parameters of the project, our goals, and giving the students time to come up with ideas. They filled in this Google Form so I could gather data about how much experience they had in Minecraft/Minetest and what they wanted to build. I used their responses to build up a number of teams (building crews) in each class, roughly based around what the students requested. I also used this step to introduce our rules of Parley, which covered expected behaviour to work together and not cause any trouble.The survey allowed me to gather data from the students and sort them into compatible teams. The students were sorted to balance out experience at this kind of game and type of building they wanted to work on. They chose the crew names themselves and became quite attached to their colours!
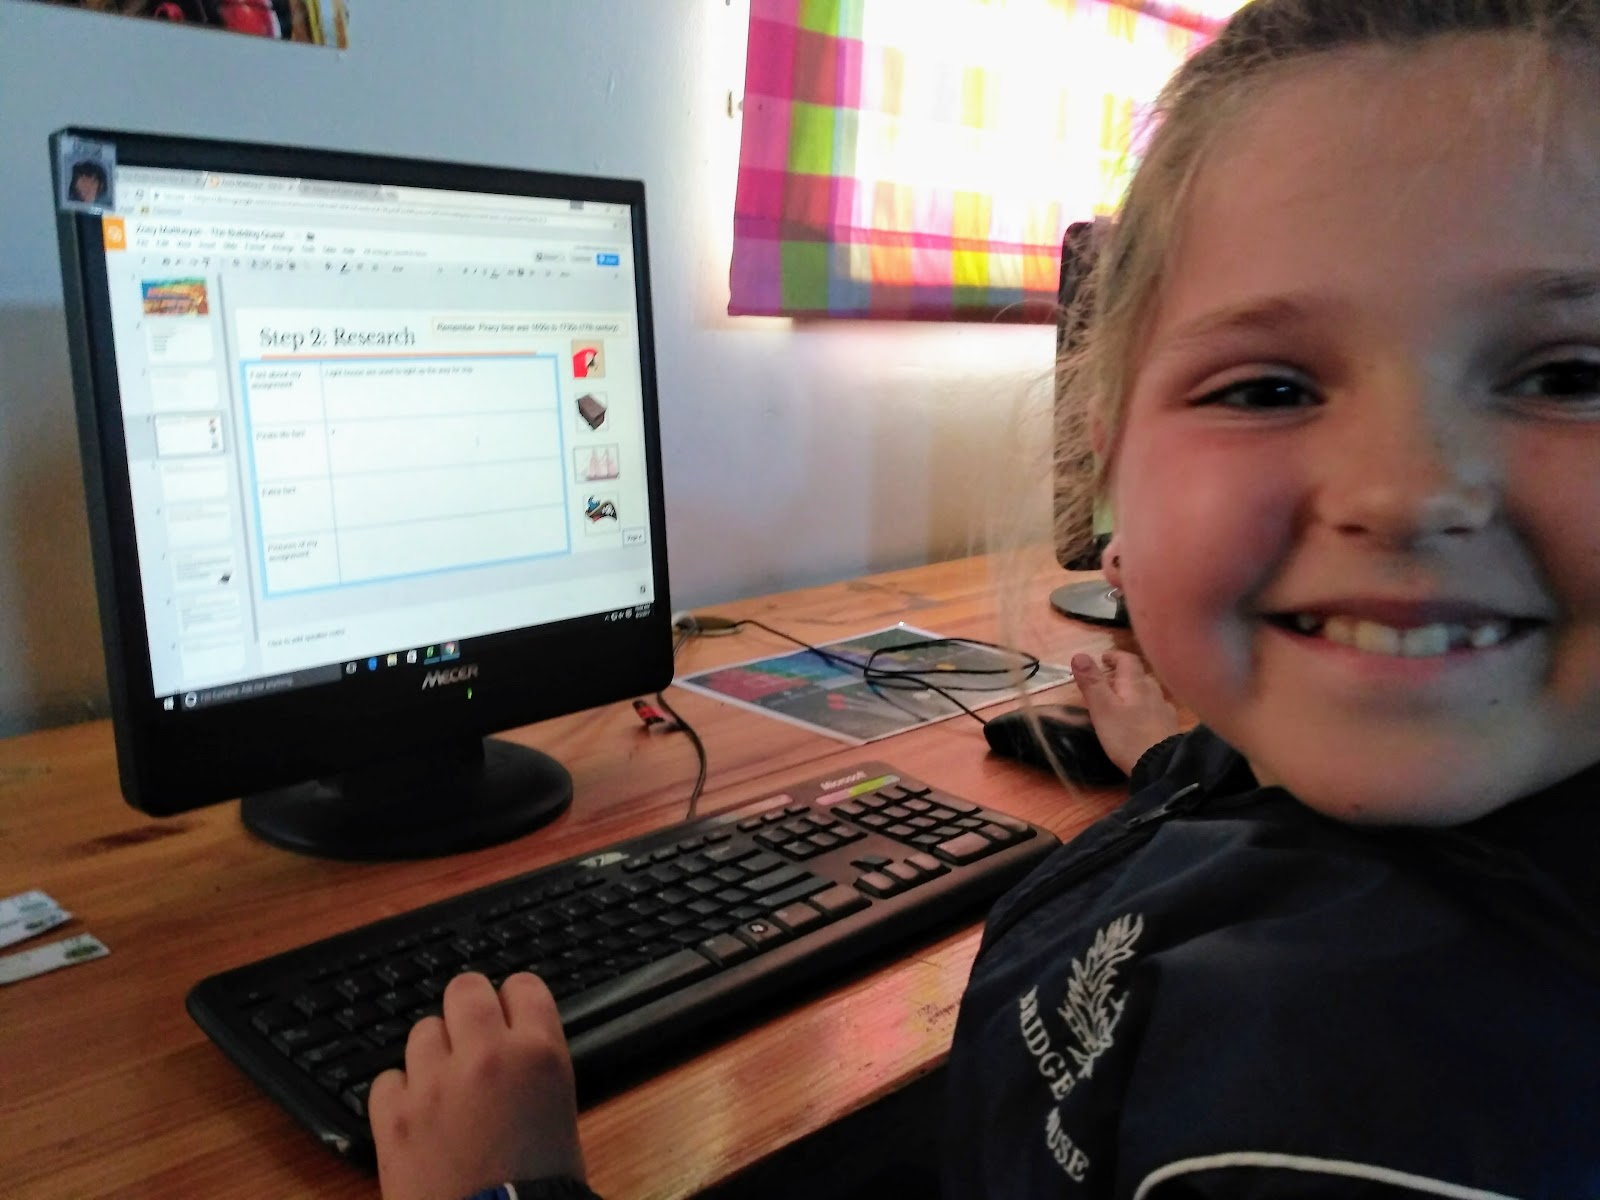
Step 2: Research
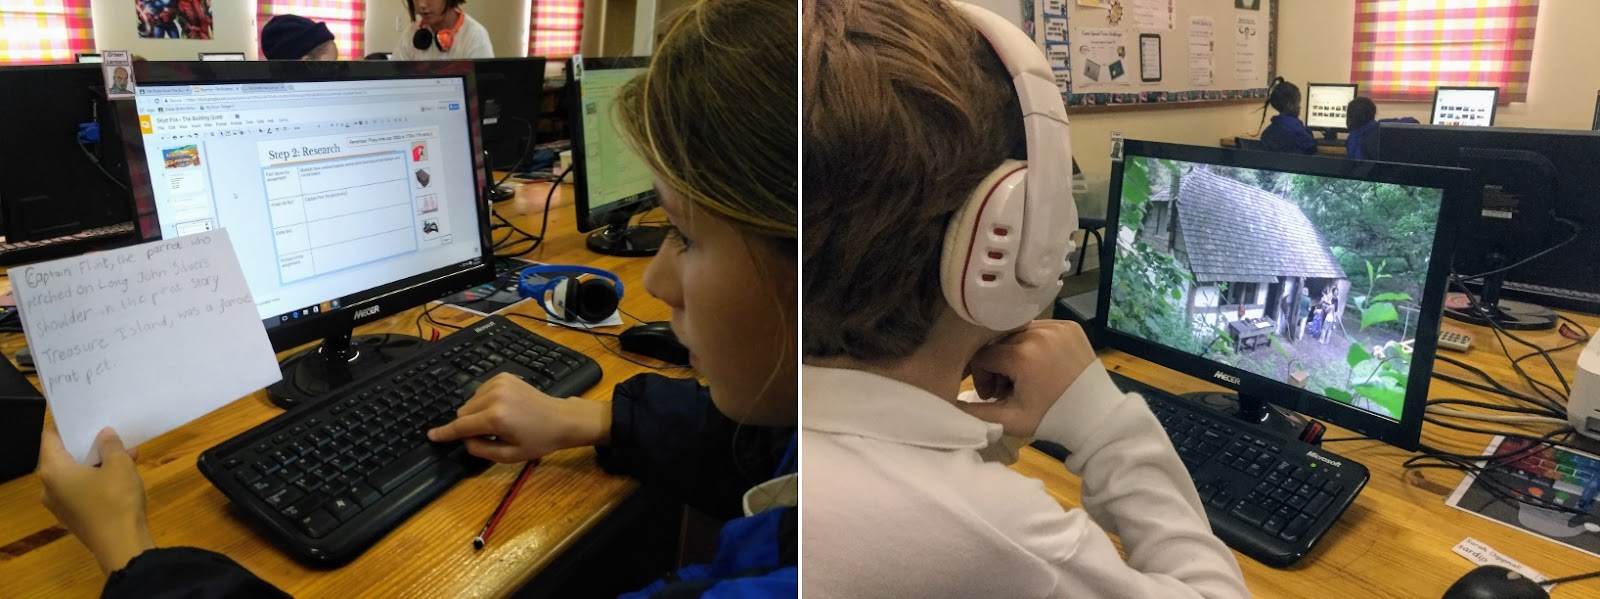
The students were sorted into their teams and we rearranged the seating plan so that teams could sit next to each other. While this created a delay in the beginning with logging into new machines and profiles, in hindsight this was an excellent choice as it helped students work together with their partners. They started work on a structured research task to find out more about their building assignment. The students each worked in a Google Slides workbook (Building Quest) where they completed all of their 'paperwork' for the task. There are links to samples of completed workbooks at the end of this write-up.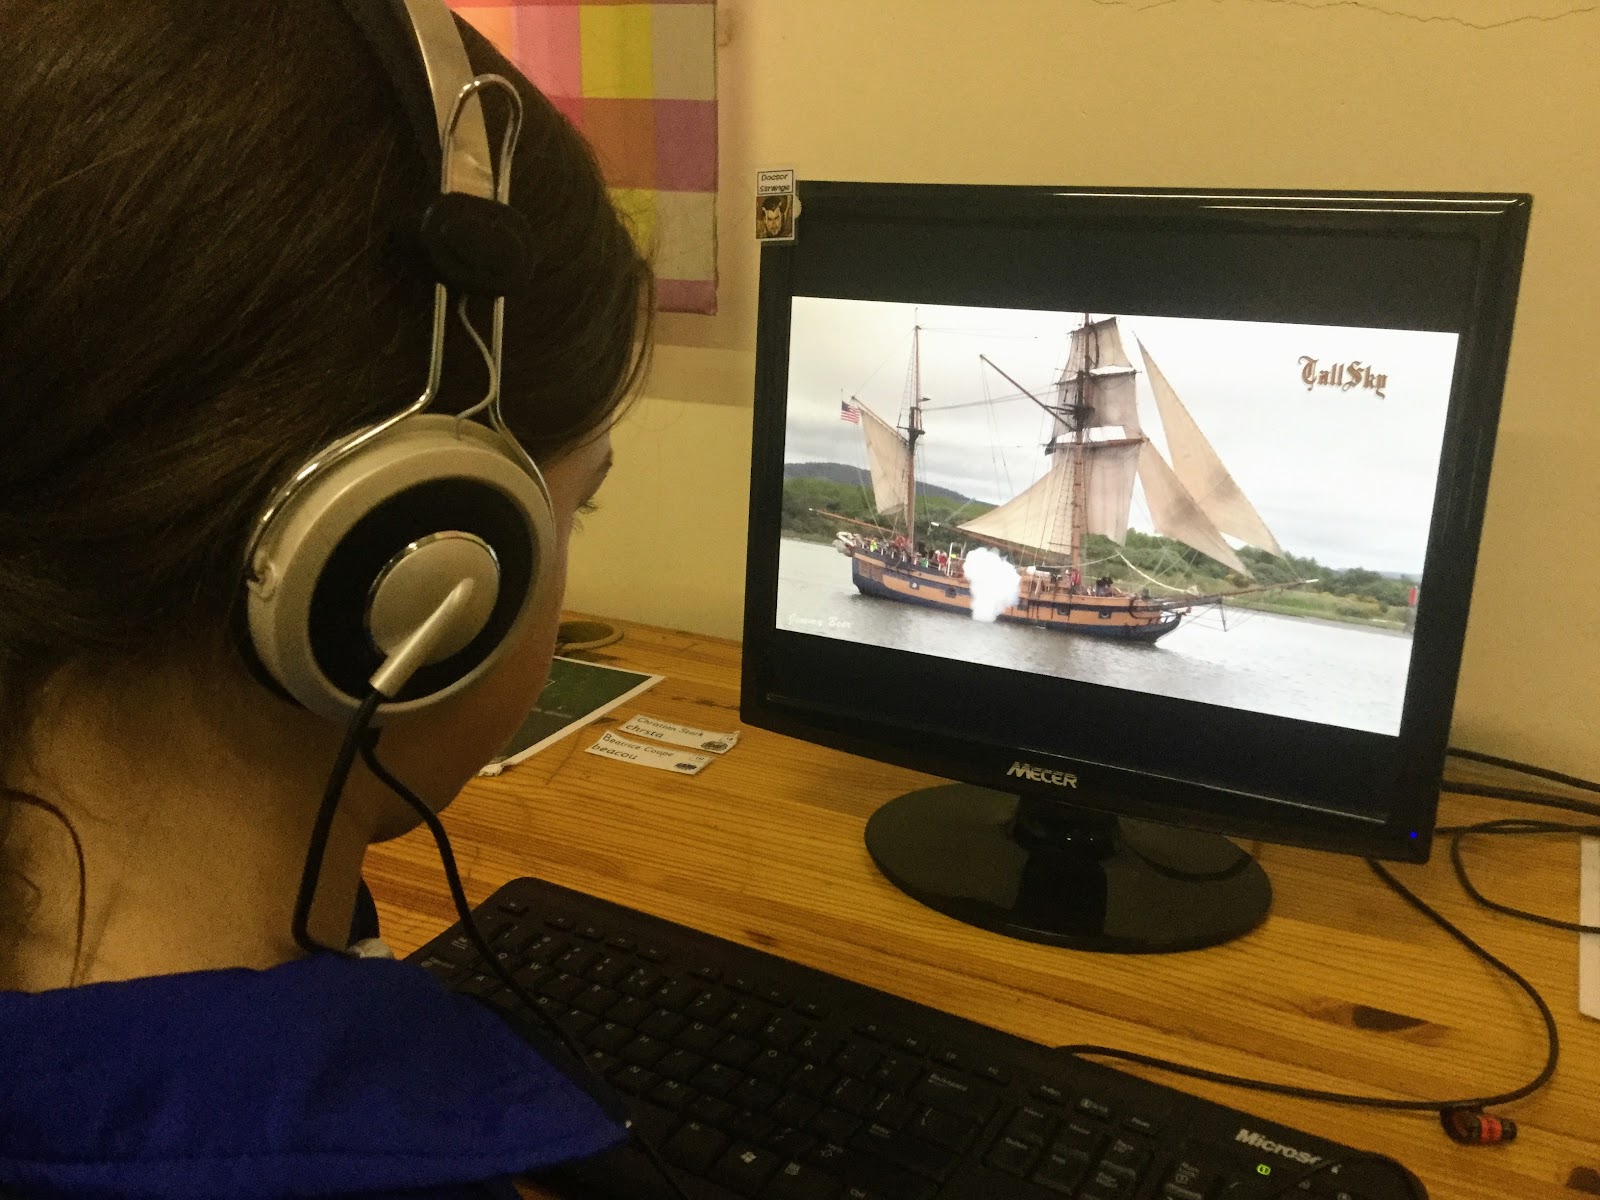
Students used a bank of suggested websites as well as saved videos to learn more about their building assignment. They had to try and find out information about the types of materials that would have been used to build their assignment in real life during the 16-17th century. Each step of the project was clearly laid out and teams were able to move ahead with the next step as soon as they felt ready to. I was able to take certain teams aside to give them individual support to complete a task they needed more help with. This differentiated approach was a new experience in the ICT lab and the students appreciated being able to work at their own pace.
Step 3: Design
Once the research task was complete, students moved onto the design phase. They used Microsoft Paint, a new program for us, to sketch out a proposed design for their building. The students largely learned how to use Paint from each other. For the group of students that needed it, I ran a brief tutorial on the basics of the program. Afterwards, the students saved their design (giving the image file a good name!) and imported it into their Building Quest document. The next phase was to label their design to give it more detail, then complete a 5 sentence write-up of what their design would be made of.I believe that including this design step helped the students become much more invested in the later process of building. I was blown away by the quality of their work!

This is post 1 of a two-part series on using Minetest to explore project-based learning with Grade 3 students. Click here to read Pirate Cove Part 2: Digital Project-Based Learning in Minetest.


No comments:
Post a Comment